So this is the post I started to write over a month ago now. You know how it is, life, work, loads of unimportant but time-sucking chores and tasks to do and suddenly you realise that life is passing you by again!
So, after almost getting my kitchen finished a year later, it was time to start baking, and it had to start with bread. Other than a trip to the nearest French bakery, around 10 miles from me, the local shop-bought bread is simply terrible.
I started hunting out recipes for bread rolls and settled on Scottish morning rolls, which I love for their crispy outer crust and soft and doughy inner, and is basically how I like my rolls to be, whatever the official 'name' for them is.
Throughout the UK, you'll hear bread rolls, baps, buns, teacakes, soup rolls, barm cakes, stotties, etc., which are all slightly different, although without any general consensus on a precise definition and despite this recipe starting on a page entitled 'Scottish morning rolls', they somehow evolved into generic bread rolls!
The taste to the person who cooks or bakes is the only taste that matters. I cook primarily for my own palate and always adjust any basic recipe I find to try and create food that I'm going to love. This is exactly what I did with these rolls, which were the third attempt. The previous two attempts had still been great, but I was looking for a specific taste and texture. Even with this third batch, I got close, but as you'll see at the end, one small mistake let me down!
Anyway, let's get on with it
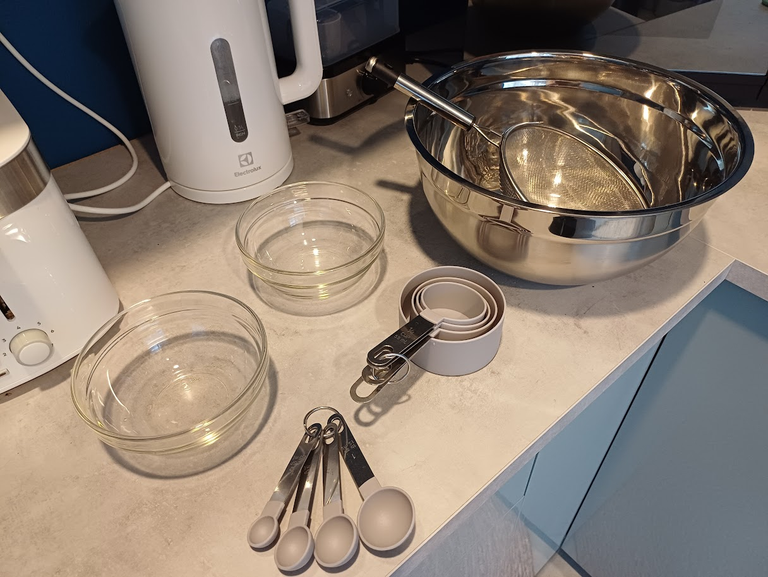
As with any 'job,' the first task is to gather the necessary tools in preparation. There's nothing worse than needing to hunt around for something at a critical moment. In this case, I was using measuring cups as my shiny new scales hadn't yet arrived. It matters not as long as everything was in proportion.

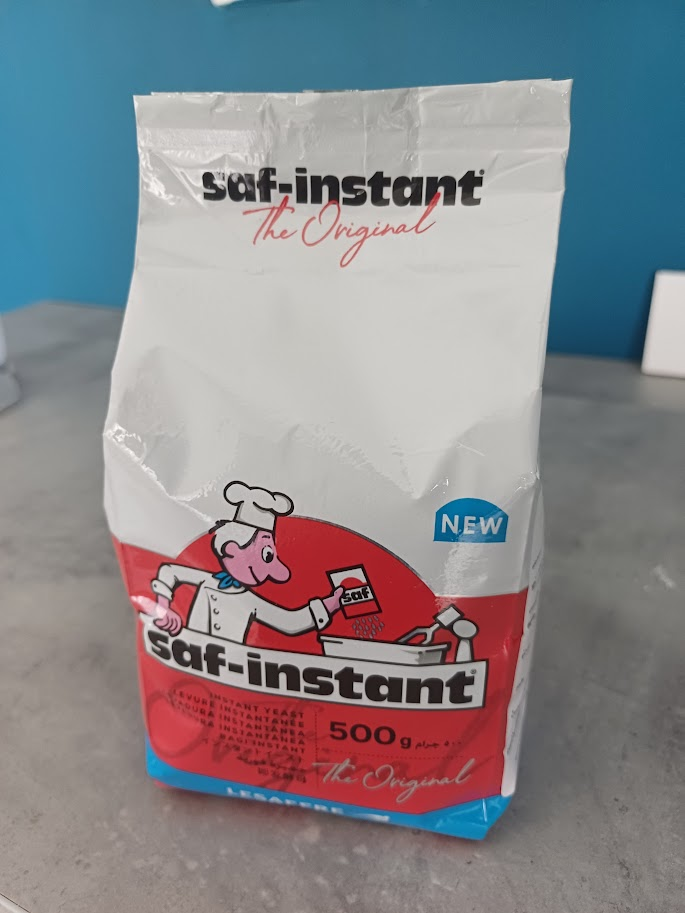
Then came the ingredients. I'd decided to use butter as my 'oil' and had to measure the yeast using teaspoons to get around 7g as I couldn't find 7g sachets anywhere in Thailand and so bought a half a kilogram bag of the dried yeast shown below which it now seems is a very popular brand worldwide. I'm not sure how long it will last after opening, though, but I've stored it in an air-tight container in the fridge for the time being.
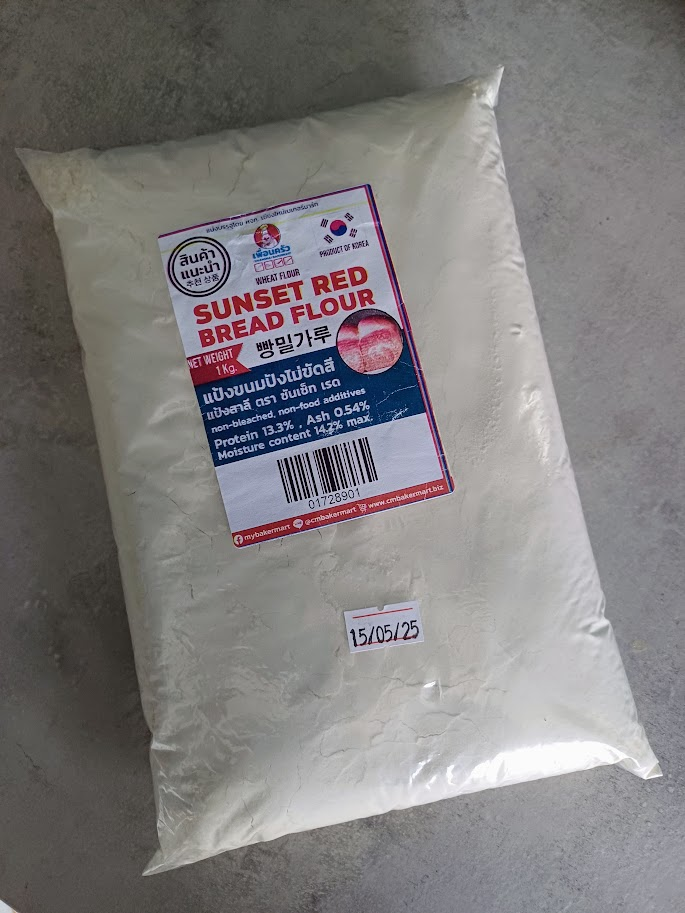
This is the flour I used. It's a strong Japanese imported bread flour with a high protein content. Protein equates to gluten, and it's important for adding structure and elasticity to the dough. I'd tried a couple of commonly available local brands but had never been able to quite get the texture I'd been looking for, but thanks to a bakery supply shop up in Chiang Mai, I have dozens of different flours to try out.

The first thing, of course, is to sift the flour to ensure there are no lumps or even insects in it and to get some air back into the flour if it's been densely packed and settled whilst in storage.
The next thing I did was to add the butter and work it into the flour by hand until you end up with a mixture that looks a little like breadcrumbs...
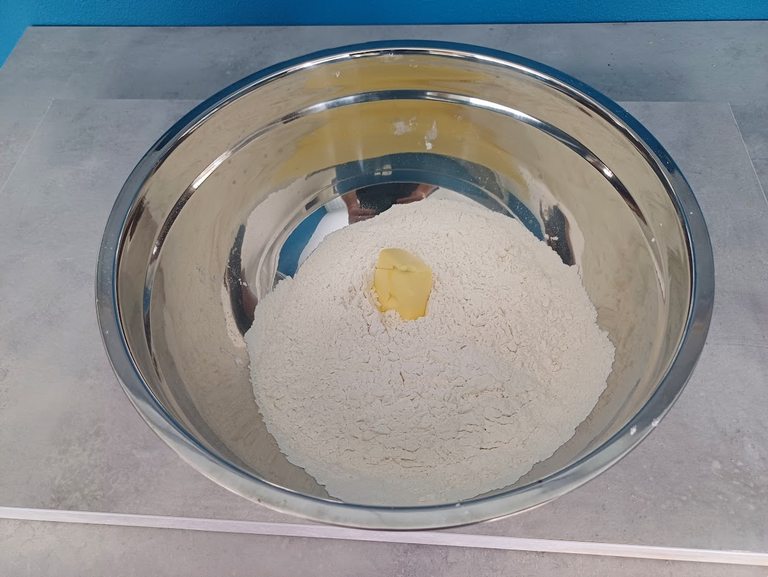
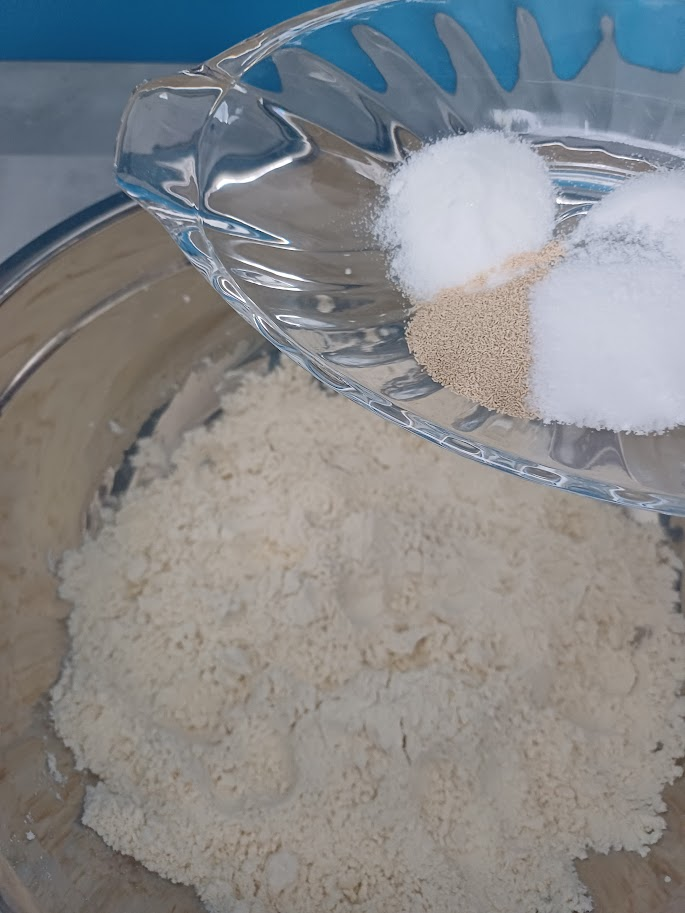
...before adding the remainder of the dry ingredients and stirring them in. In retrospect, I'm not sure if this was the correct order and in future, I will do this the other way around to ensure all the dry ingredients are properly combined before adding the oil.
When I was happy with the combination, I began adding the water and milk which had been left out for a while to increase their temperatures slightly. Room temperature here in the tropics is most likely a lot warmer than in the UK, but the recipe called for 'lukewarm'.
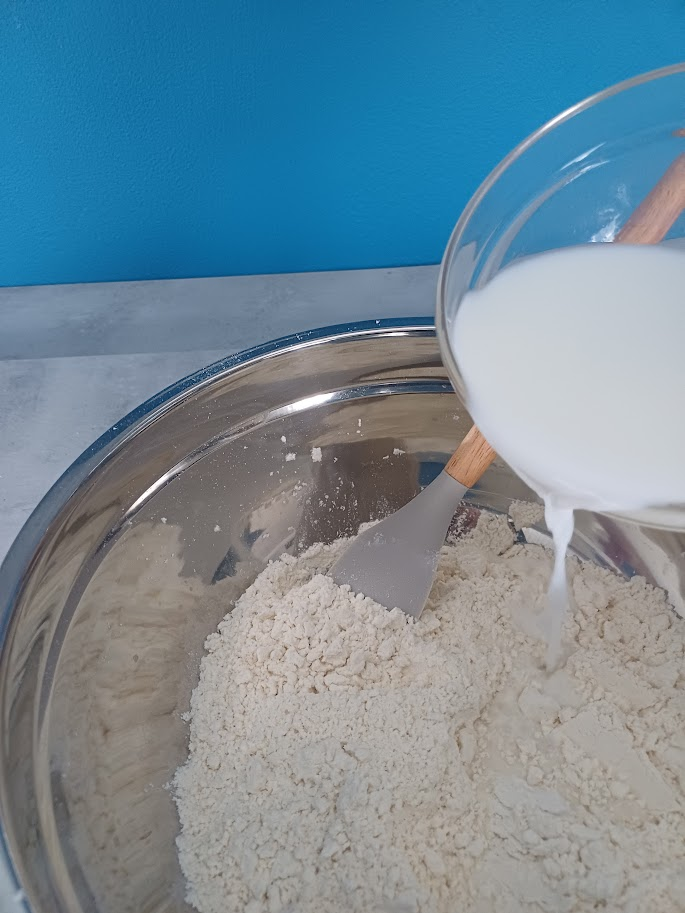
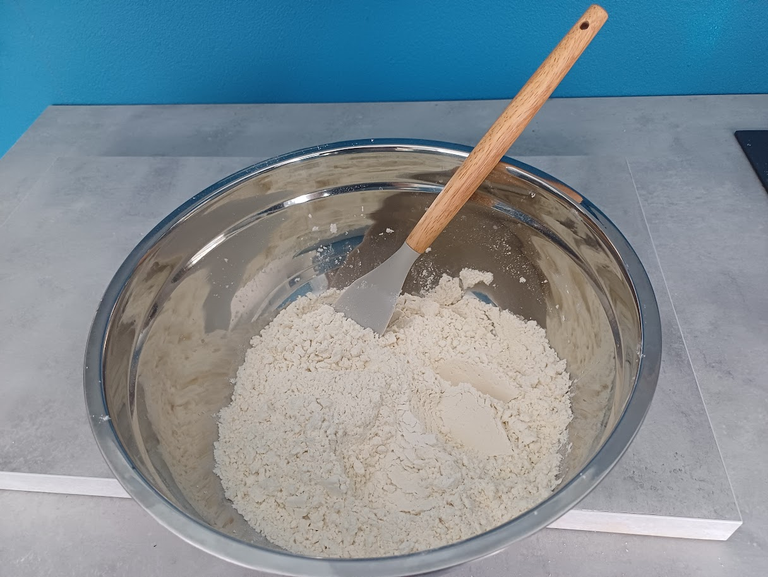
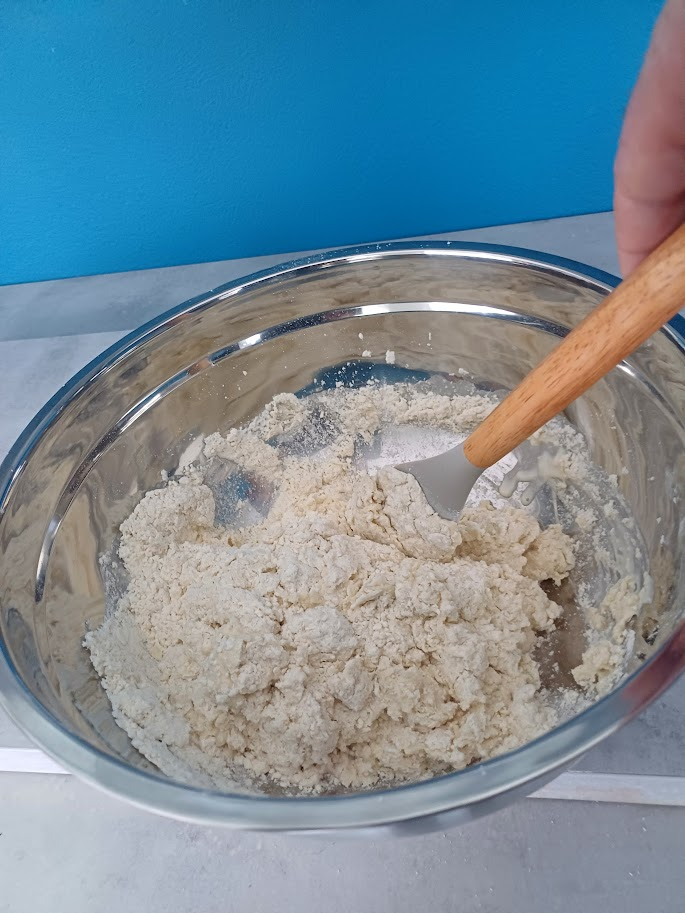
After adding the milk, it's a dreadfully sticky mess and calls for a little spatula work to combine all the elements to create the basic dough. Once it's started to become a solid mass, then you can get your hands in and start massaging to finish the job off.
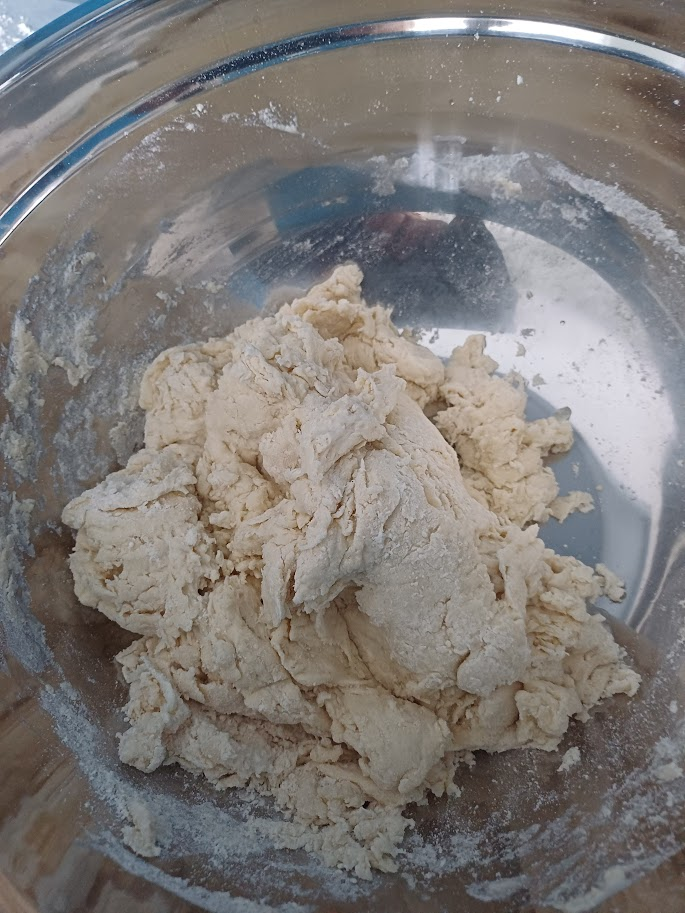
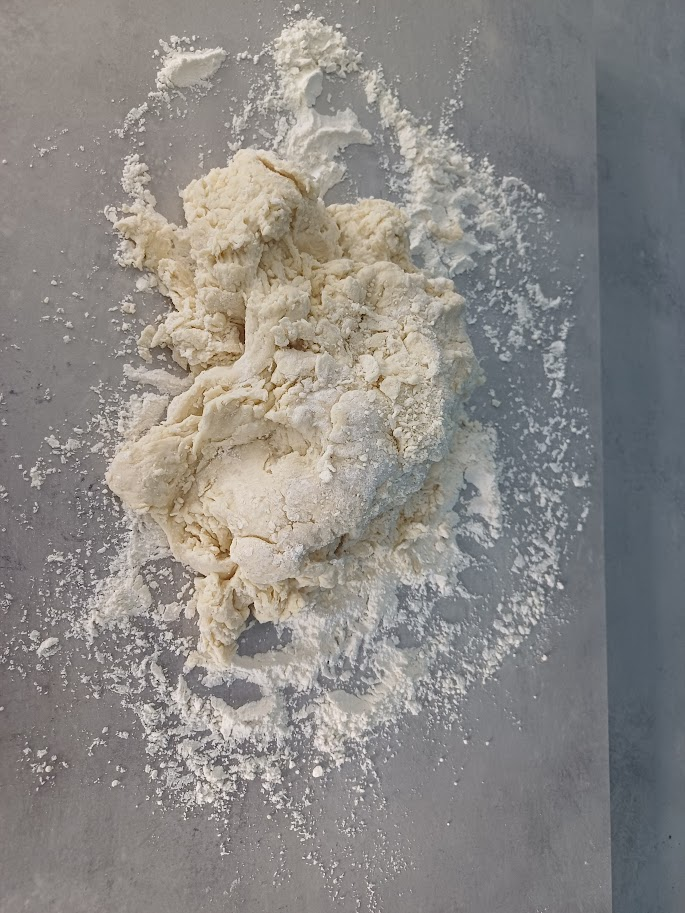
When the stickiness has almost gone and you have a pliable, workable dough, it's time to remove it from the mixing bowl onto a nicely floured work surface for the kneading to begin.
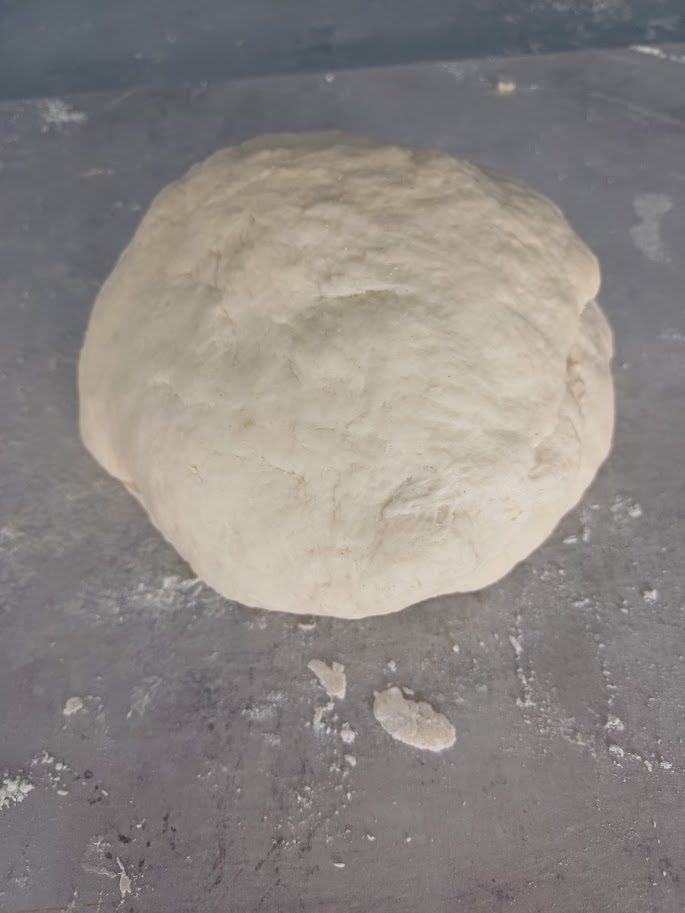
It took me only 5 minutes of kneading and folding to get the dough into shape, and after forming a well-rounded ball, it was ready for the first rise.
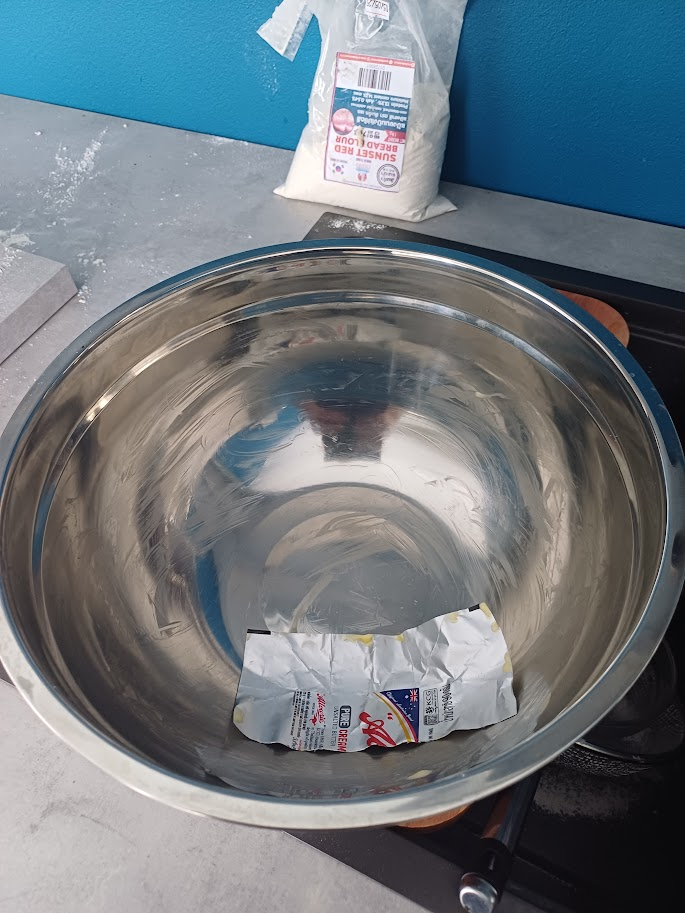
Before dropping the dough back into its bowl for its initial proof, I began by greasing the inside of the bowl with the old butter packet to prevent it from sticking...
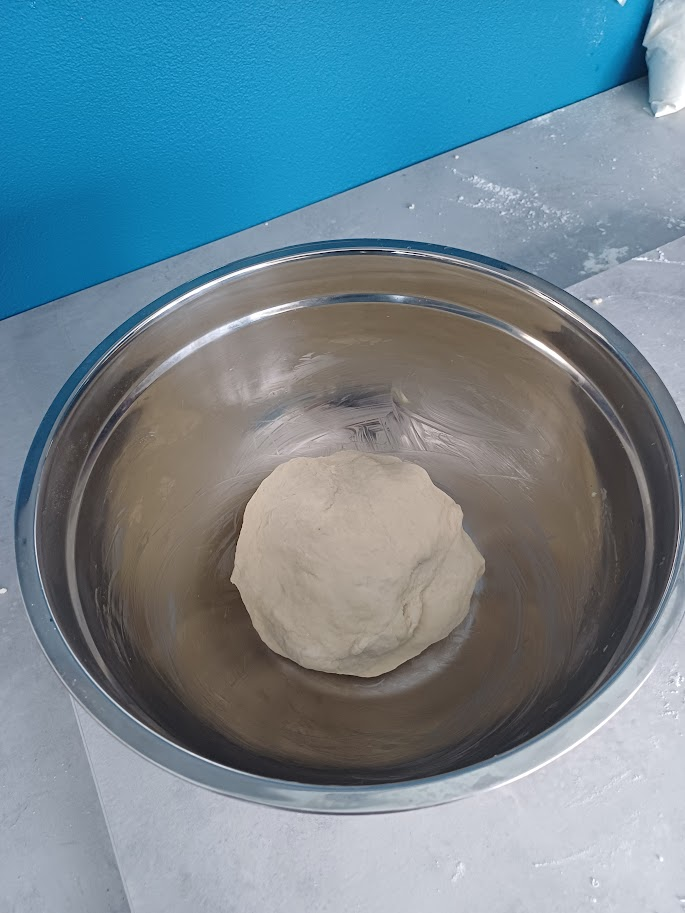
...before placing the dough in the greased bowl...
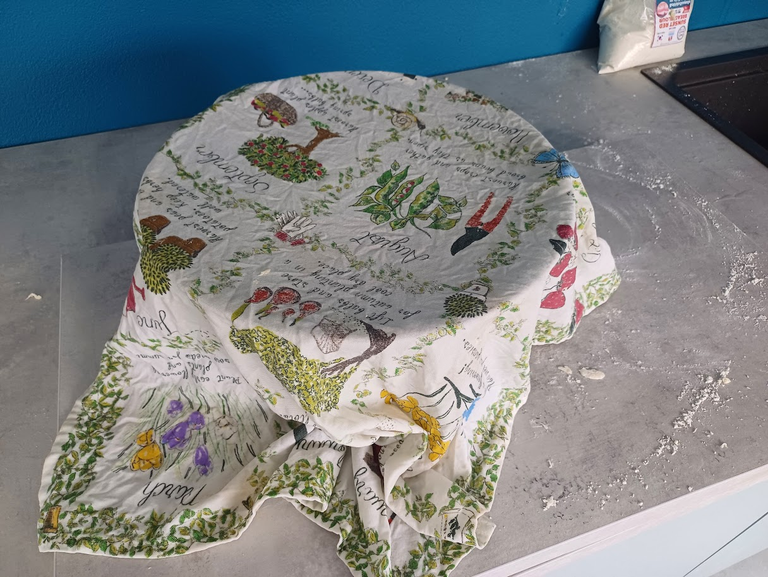
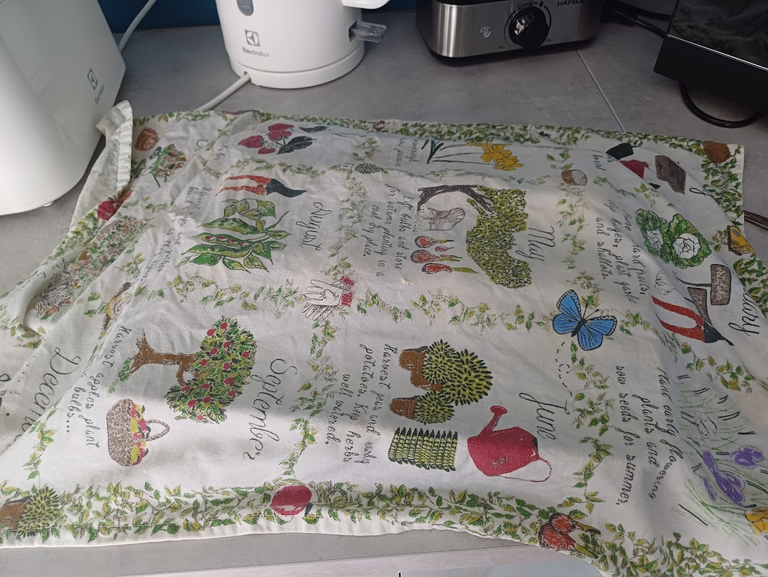
...and covering it with a clean tea-towel. We're looking to double the size of the dough at this stage. As we have a very warm ambient temperature here in Thailand, it didn't take long.

While I waited, I prepared my baking tray with a sheet of baking parchment to stop any sticking and sprinkled a little more flour just to be sure.
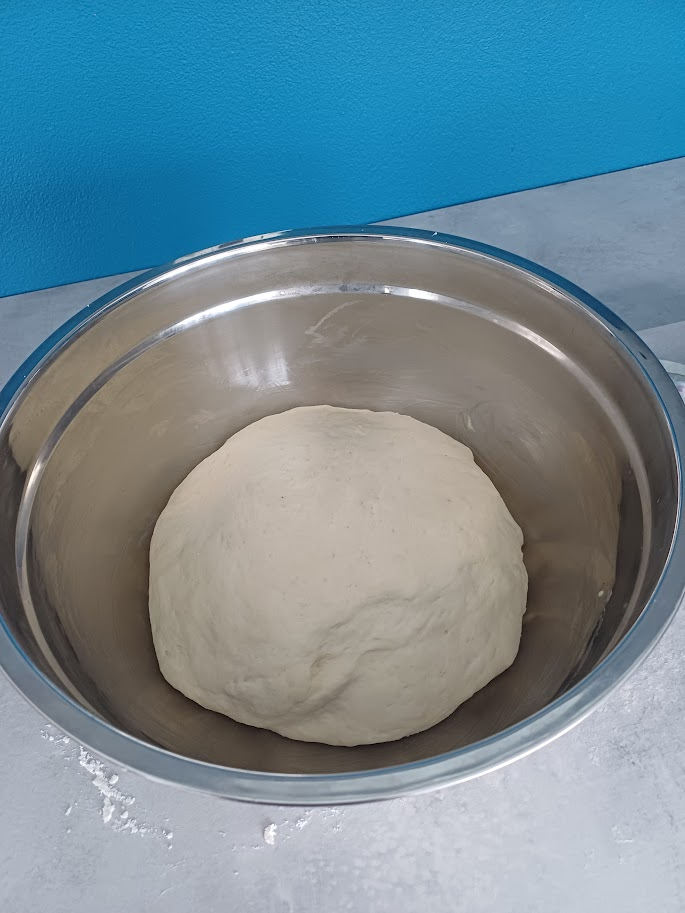
Hey presto! After just around an hour, the dough had doubled in size and was looking good.
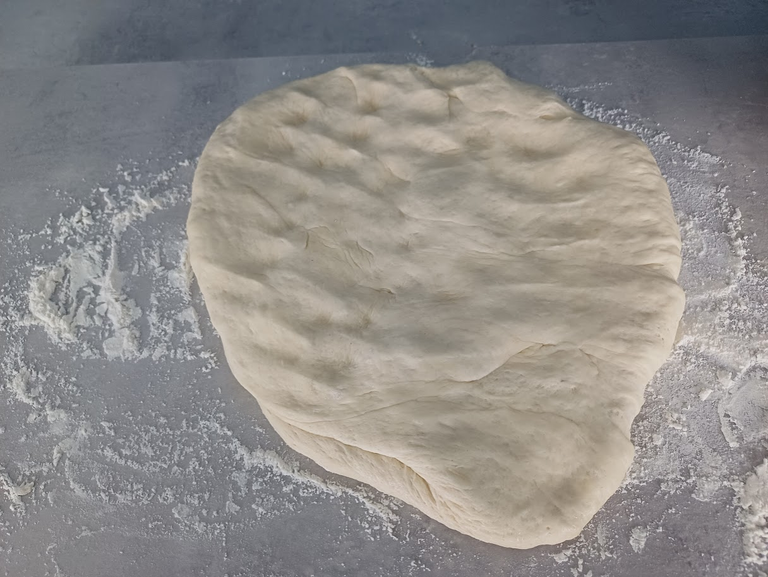
Back onto the floured work surface it went, where I lightly punched all the air out of the dough and gave it a further gentle knead and a couple of folds...
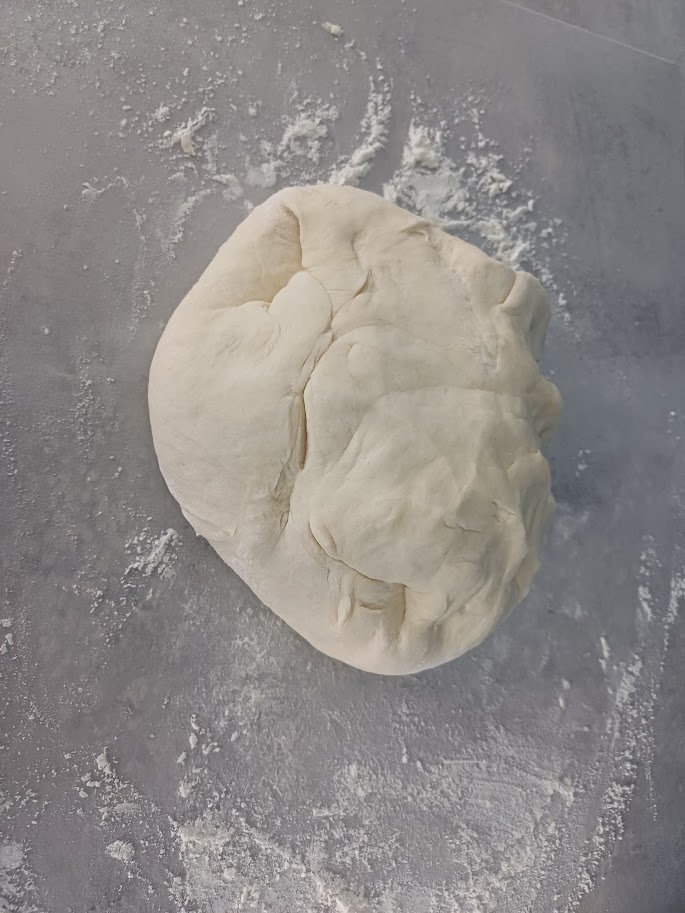
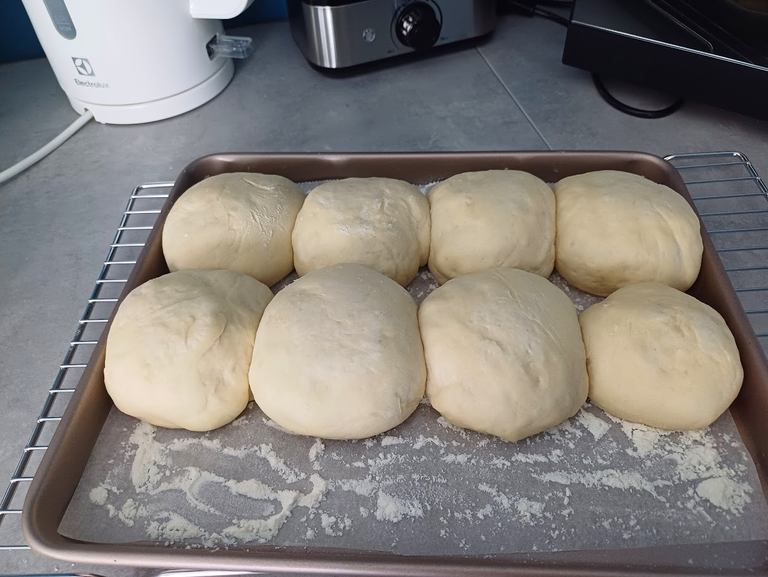
...before folding the dough back into the middle, all around the outside to create a nice ball, once again. Then it was time to weigh and divide the dough into eight equal pieces...
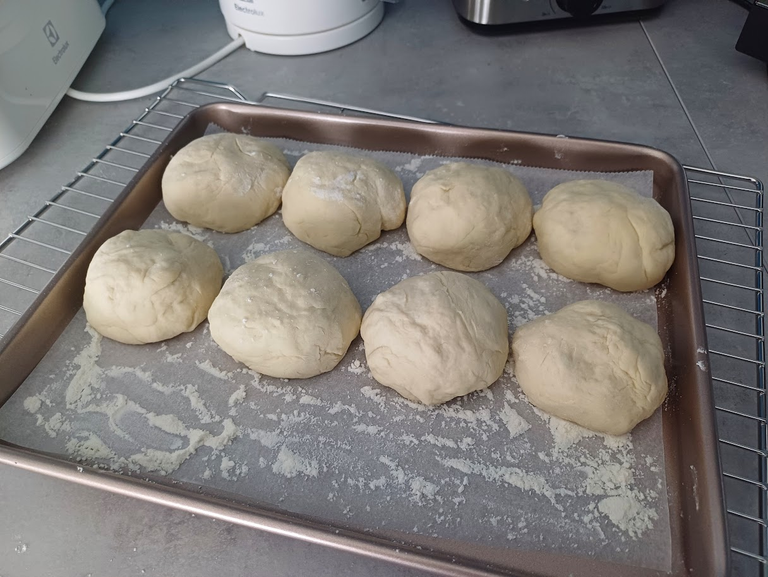
... and onto the baking tray ready for a second and final proof, although I'm not quite sure what happened with the little runt on the right-hand side!
Now you see them
Now you don't!
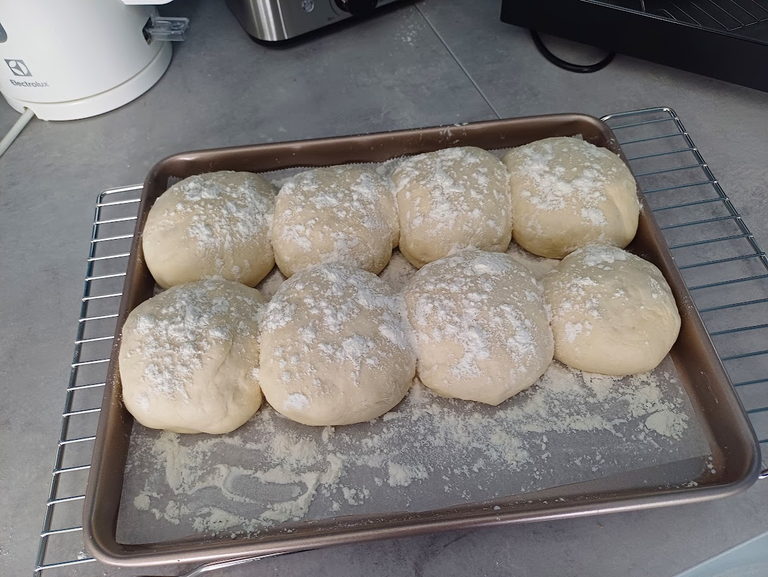
And it's back under the tea towel for about an hour for their final proof, until they look something like...
...this!
I'd thought long and hard about placing a bowl of hot water into the bottom of the oven to create some steam in there as they cook. Doing this will always give you a lovely crunchy outer crust, but I decided against it, which, in retrospect, was a mistake. Next time, I'm going full steam ahead!
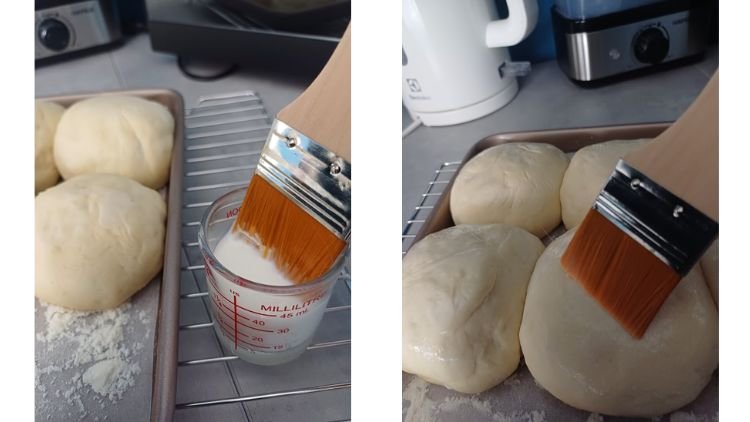
Instead, I opted to give them a milky wash, which I hoped would also give a nice firm outer crust, but without being quite as crispy.
Finally, it was time to get them into the preheated oven at 220C for 20 to 25 minutes.

Now this is where things started to not go quite to plan!
It was getting close to 4 pm, and I had a class to teach, so I removed them from the oven a little early. I had wanted a much darker colour and should have left them for a further 5 minutes or more.
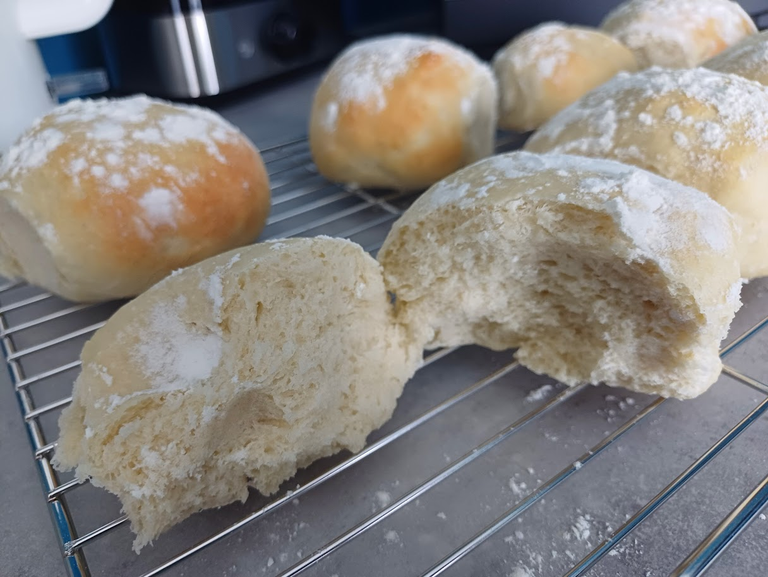
I liked the dough, though. It was soft and slightly chewy and nice and dense. A further few minutes in the oven would have taken a little more moisture out, which would have created a fluffier dough, but I liked it this way.
However, the crusts needed more colour and more crispiness. I hadn't wanted soft wussie sandwich baps, I'd wanted a firm bite, so next time, changes will be made to the cooking process.
I might also try olive oil instead of butter, too, and that's the thing with baking, you have an infinite number of adjustments you can make to create exactly the taste and textures you desire!
This is the basic recipe I used,
7g yeast
25g caster sugar
7g salt
60g butter
420g bread flour
1.5 cups water
0.5 cups milk
220C fan oven for 20 to 25 mins, if it's not a fan oven, I'd suggest 230C and please remember to preheat it!
And that was the first in what will hopefully be a long series of baking and cooking posts as my kitchen and I become better friends!
Thanks for dropping by. If you have any tips or advice for this total amateur, please drop me a comment. @commentrewarder is a beneficiary of this post.
Best wishes from Thailand

 Please Vote for our