
Buen día, mi querida comunidad, amantes de la comida, quiero enseñarles una receta muy fácil y rápida de un exquisito pastel de parchita.
Para serles sinceros, tenía unos 3 años que no horneaba, ya que mi horno se dañó y hasta ahora no he podido reponer uno. Así que mi vida en la horneada se ha visto limitada. No tenía mucha confianza de volver a hacer una torta, pero la ocasión lo ameritaba.
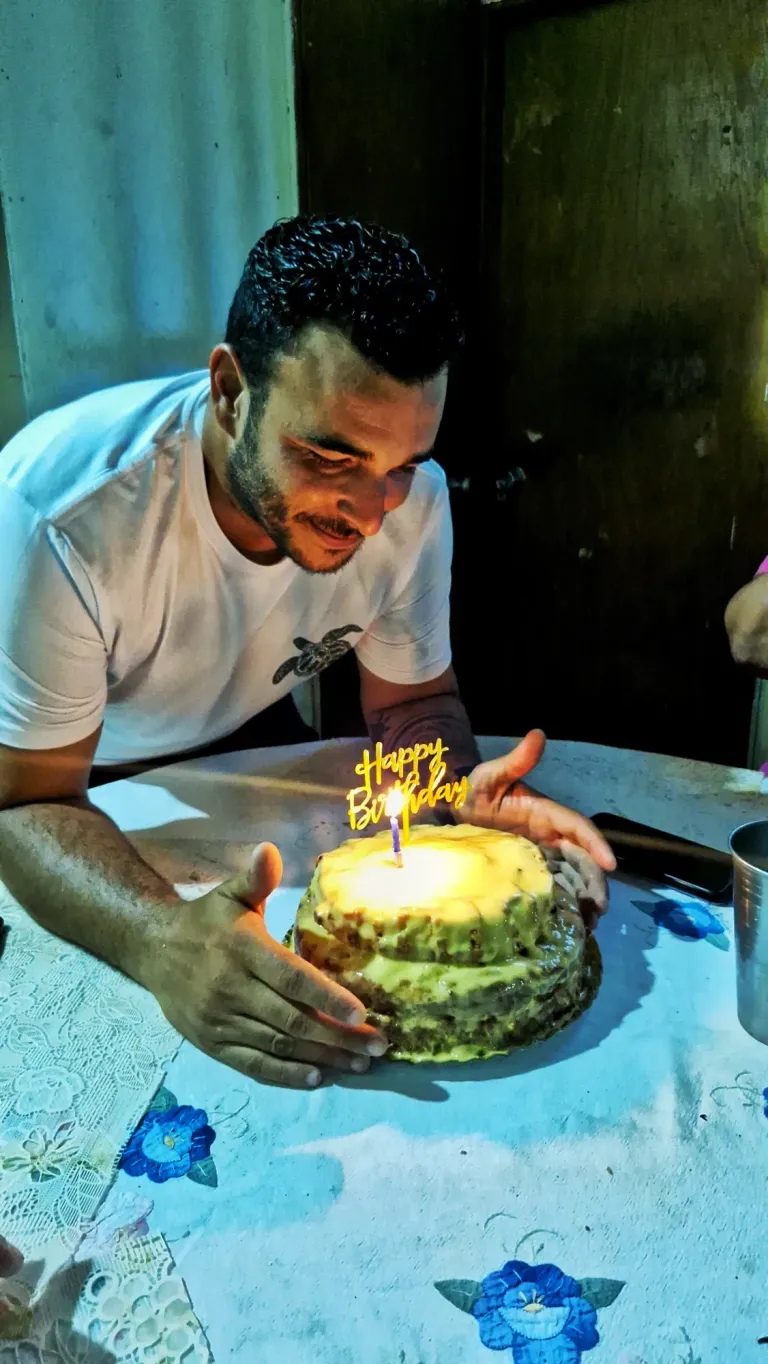
El día 9 de abril cumplió años mi novio y le pregunté de qué quería la torta, a lo que respondió: Quiero una de parchita y rápidamente me vino a la mente una de las tortas favoritas de mi mami y le dije que yo misma se la haría. Le pedí el horno a una tía y así fue que la hice.
Ingredientes:
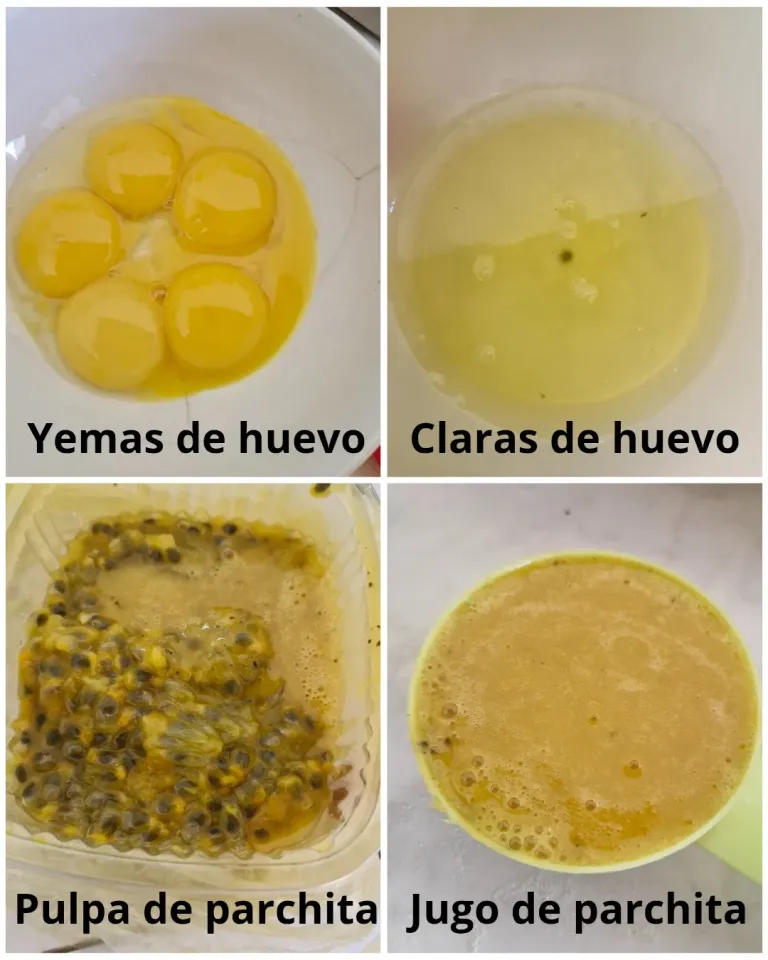
- 6 claras de huevo.
- 6 yemas de huevo
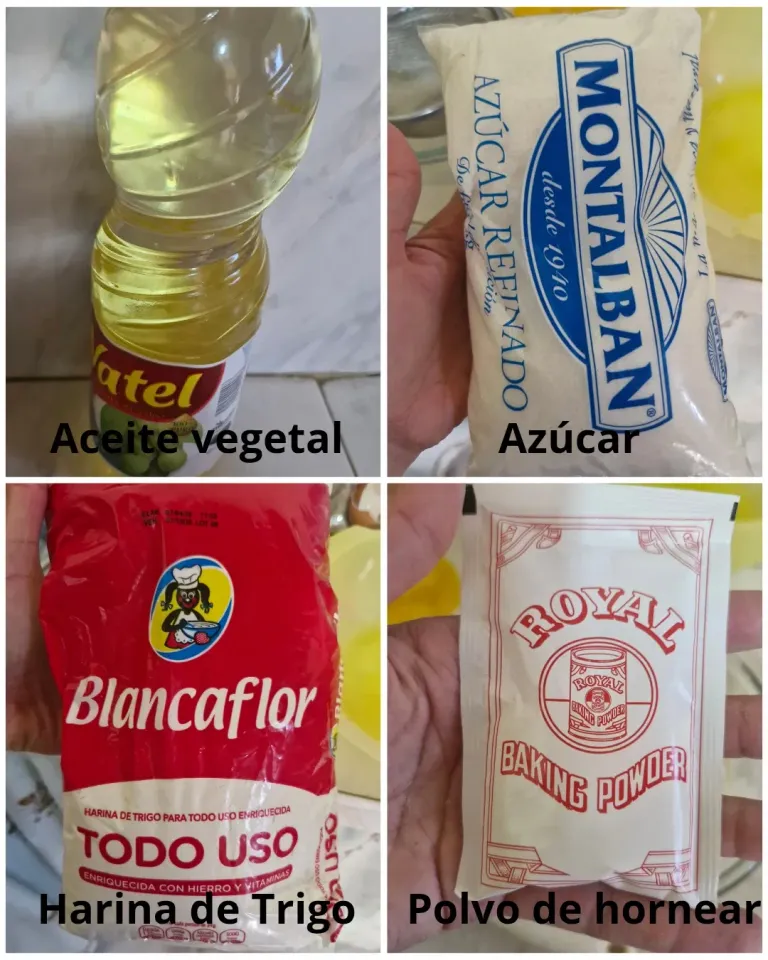
- 2 tazas y media de harina de trigo.
- 2 tazas de azúcar
- 1/2 taza de jugo de parchita sin diluir en agua
- 1 cucharadita de polvo de hornear
- 1/2 taza de aceite vegetal
- Esencia de vainilla al gusto
Preparación:
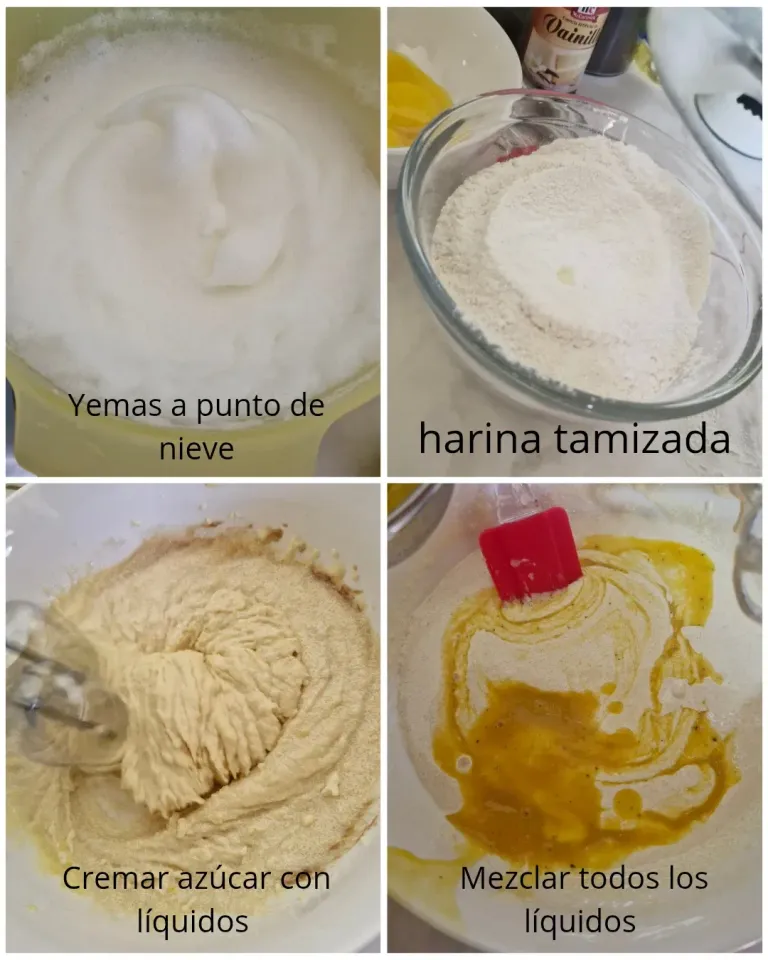
Batir las claras de huevo a punto de nieve y reservar.
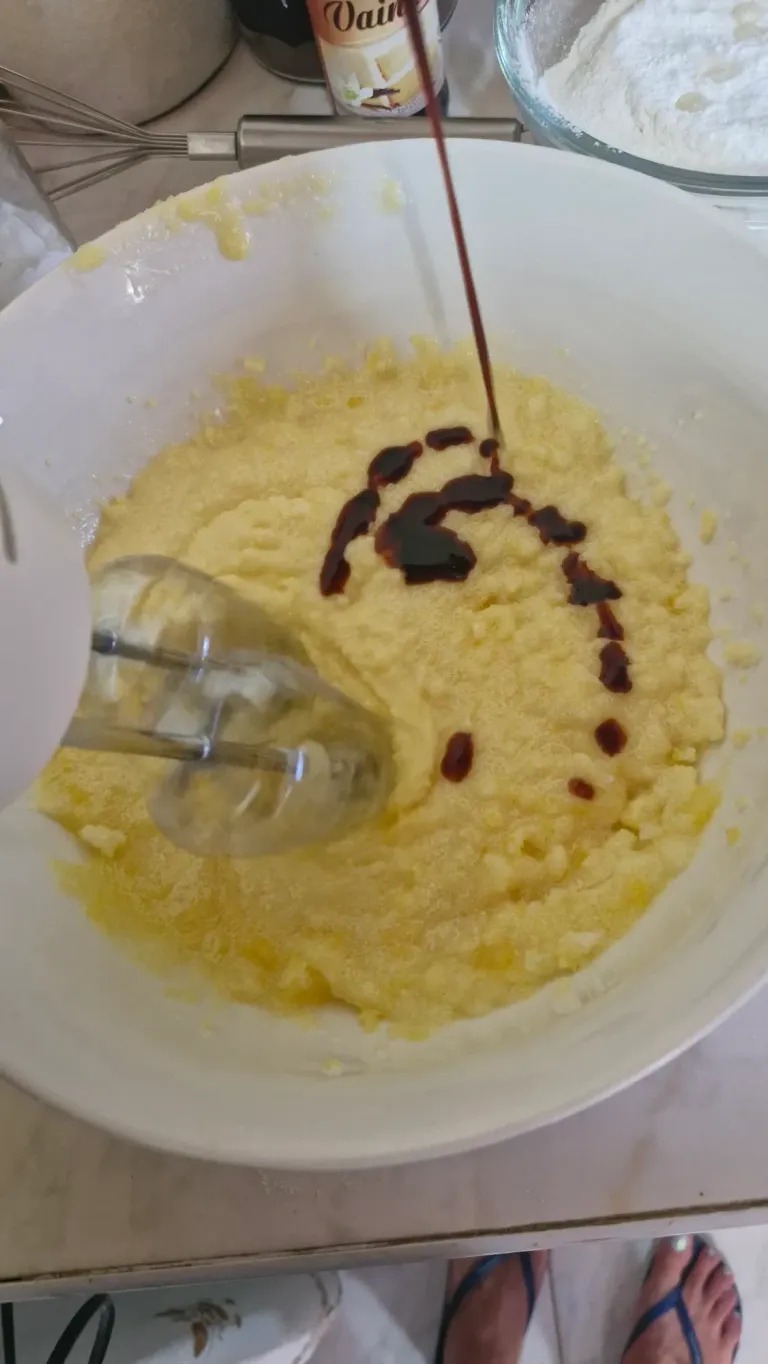
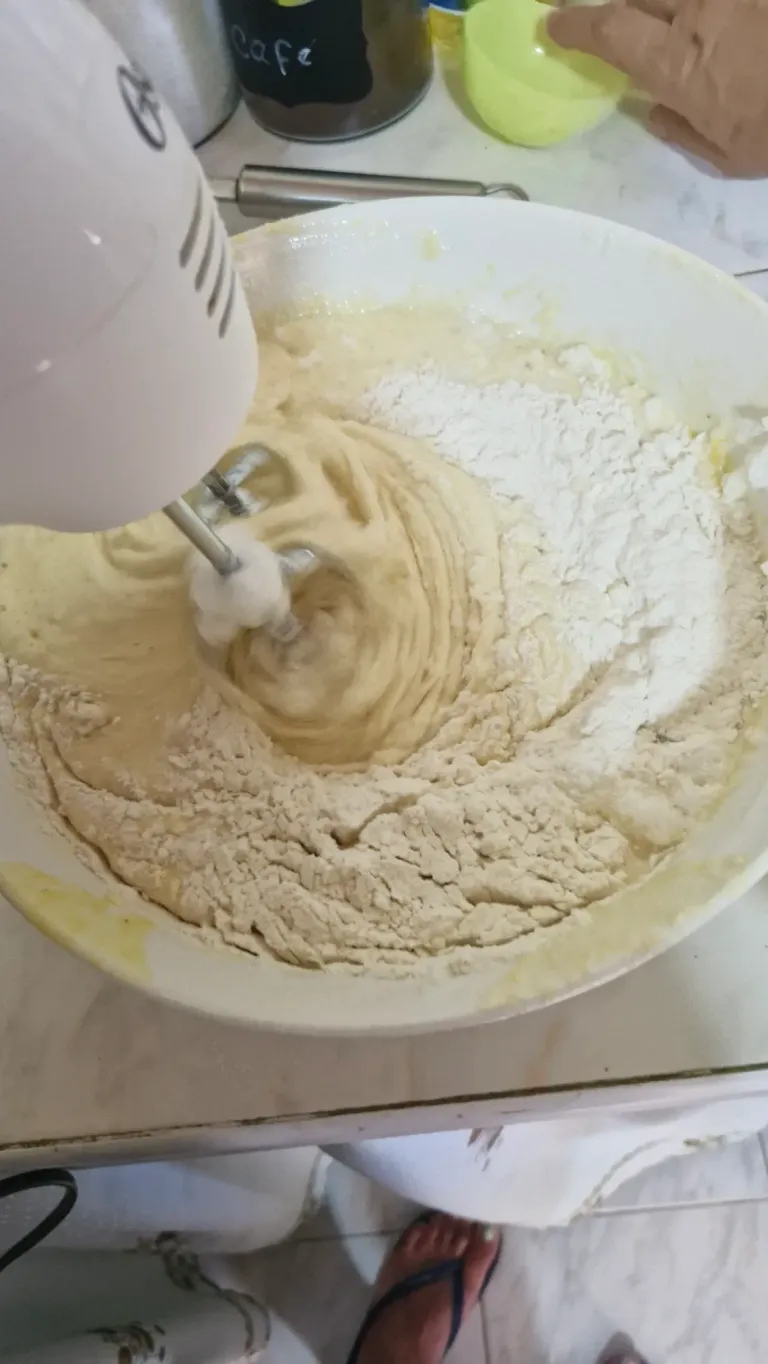
En un bowl agregar las yemas, la azúcar y comenzar a cremar hasta que se diluya el azúcar, luego de eso incorporar el aceite, el jugo de parchita, la vainilla. Una vez bien mezclados, ir agregando alternando las claras de huevo con la harina previamente tamizada junto con el polvo de hornear, batir muy lento hasta que esté la mezcla completamente homogénea.
Precalentar el horno a temperatura media.
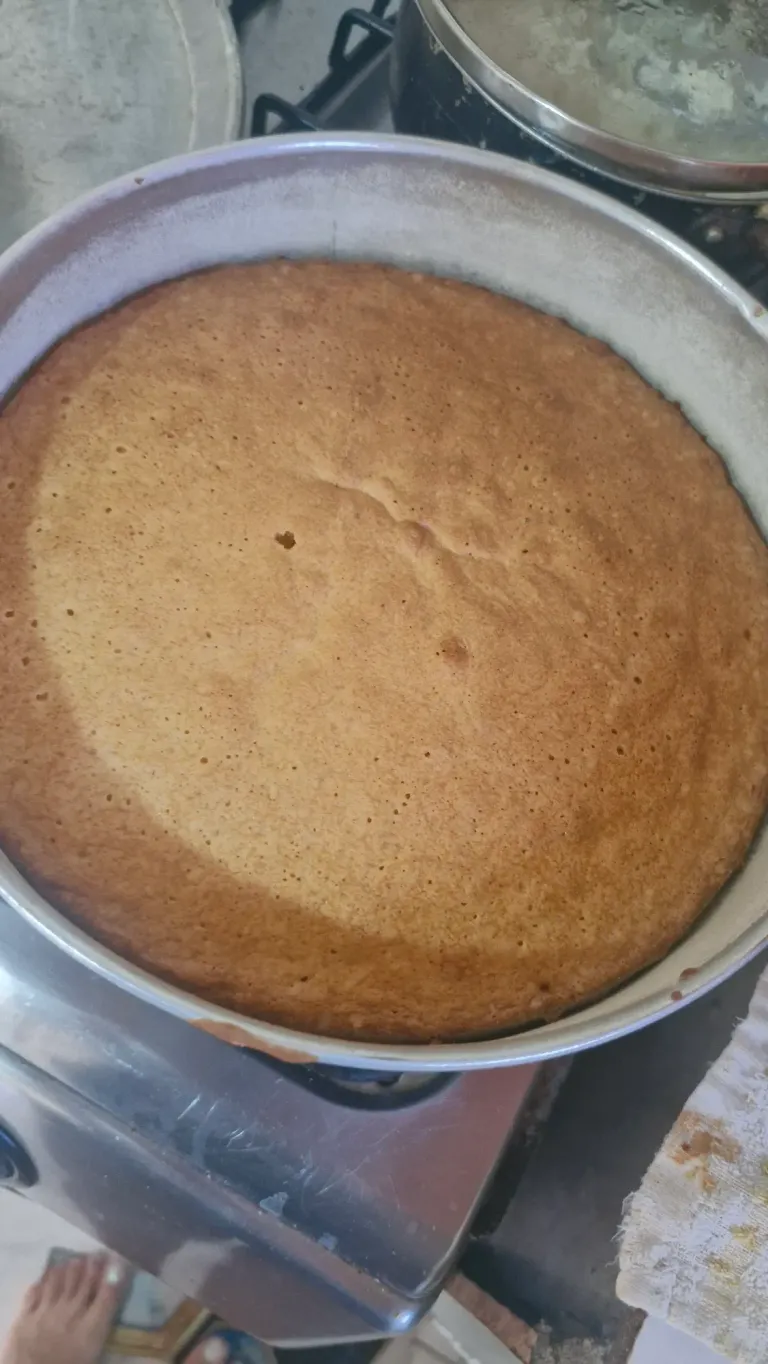
Engrasar y enharinar el molde que quiera utilizar, verter la mezcla y hornear por unos 40 minutos aproximadamente o hasta que al insertar un palillo este salga seco.
Desmoldar y esperar que se enfríe.
Para la cubierta:
1 lata de leche condensada.
1 taza de jugo de parchita.
Preparación: verter en la licuadora la leche condensada e ir agregando en un hilo delgado el jugo de parchita con la licuadora encendida a máxima capacidad.
Luego puedes decorarlo a tu gusto, bien sea rellenando el pastel o cubriéndolo.
Mi novio quedó encantado con el sabor porque nunca la había probado de esa manera. Así que misión cumplida. Nos vemos en una próxima publicación. Si tienes alguna duda de la preparación, déjamela en los comentarios, con gusto responderé.
***
Good morning, my dear community, food lovers, I want to show you a very easy and quick recipe for a delicious parchita cake.
To be honest with you, I hadn't baked for about 3 years, since my oven got damaged and until now I haven't been able to replace one. So my baking life has been limited. I wasn't too confident about making a cake again, but the occasion warranted it.
On April 9 was my boyfriend's birthday and I asked him what he wanted the cake to be, to which he replied: I want a parchita cake and quickly one of my mommy's favorite cakes came to mind and I told him I would make it myself. I asked an aunt for the oven and that's how I made it.
Ingredients:
- 6 egg whites.
- 6 egg yolks
- 2 and a half cups of wheat flour.
- 2 cups of sugar
- 1/2 cup of parchita juice undiluted in water
- 1 teaspoon baking powder
- 1/2 cup vegetable oil
- Vanilla essence to taste
Preparation:
Beat the egg whites until stiff and set aside.
In a bowl add the egg yolks, the sugar and begin to cream until the sugar is diluted, then add the oil, the parchita juice and the vanilla. Once well mixed, add the egg whites alternately with the flour previously sifted together with the baking powder, beat very slowly until the mixture is completely homogeneous.
Preheat the oven to medium temperature.
Grease and flour the mold you want to use, pour the mixture and bake for about 40 minutes or until a toothpick inserted comes out dry.
Unmold and wait for it to cool.
For the topping:
1 can condensed milk.
1 cup of parchita juice.
Preparation: pour the condensed milk in the blender and add the parchita juice in a thin trickle with the blender turned on at maximum capacity.
Then you can decorate it as you like, either filling the cake or covering it.
My boyfriend was delighted with the taste because he had never tasted it that way. So mission accomplished. See you in a future post. If you have any questions about the preparation, leave them in the comments, I'll be happy to answer.
Fotos tomadas por | Photos taken by @cynthiacvb
Dispositivo | Device | samsung s23 FE and others
Fotos editadas en: |Photos edited in | canva / snapseed
Traducción con | Translation with| DeepL
For the best experience view this post on Liketu