Hola, amigos amantes de la comida, como ya se me ha hecho costumbre en las tardes, quiero comer algo rico y dulce, pero con recetas que sean fáciles de preparar y con ingredientes sencillos de conseguir.
Hace un buen tiempo que el horno de mi cocina se dañó así que esta vez indague en internet sobre alguna receta que pudiera hacer en el microondas y que su ingrediente principal fueran los plátanos, ya que había hecho limpieza de mi nevera y me encontré unos que estaban bastante maduros y ya no me gusta freírlos así.
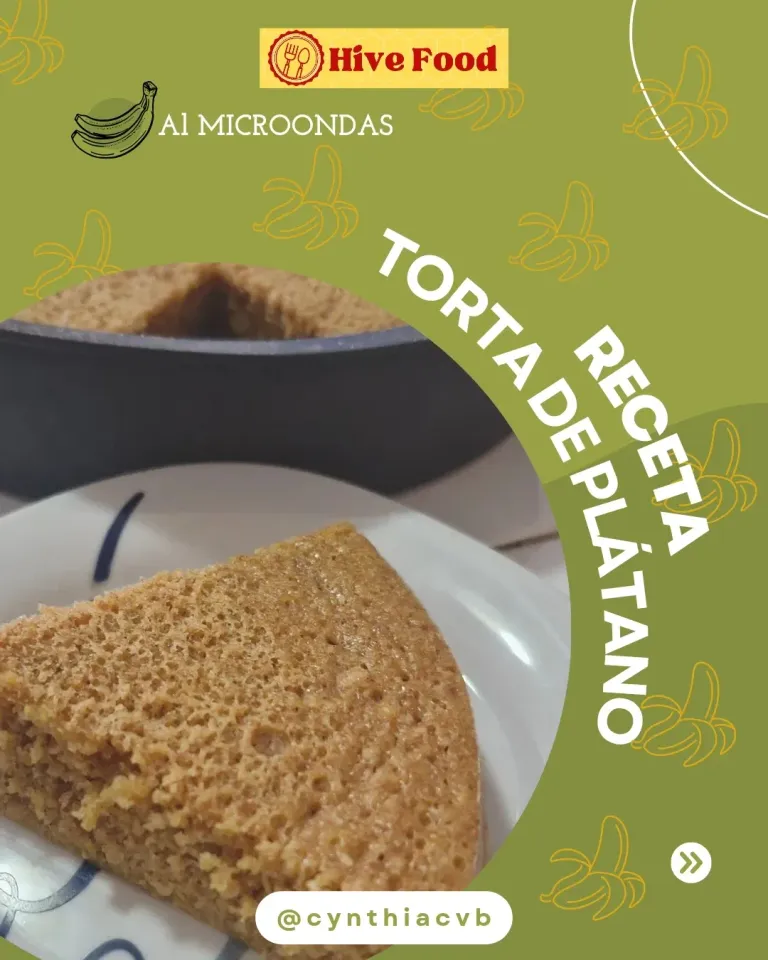
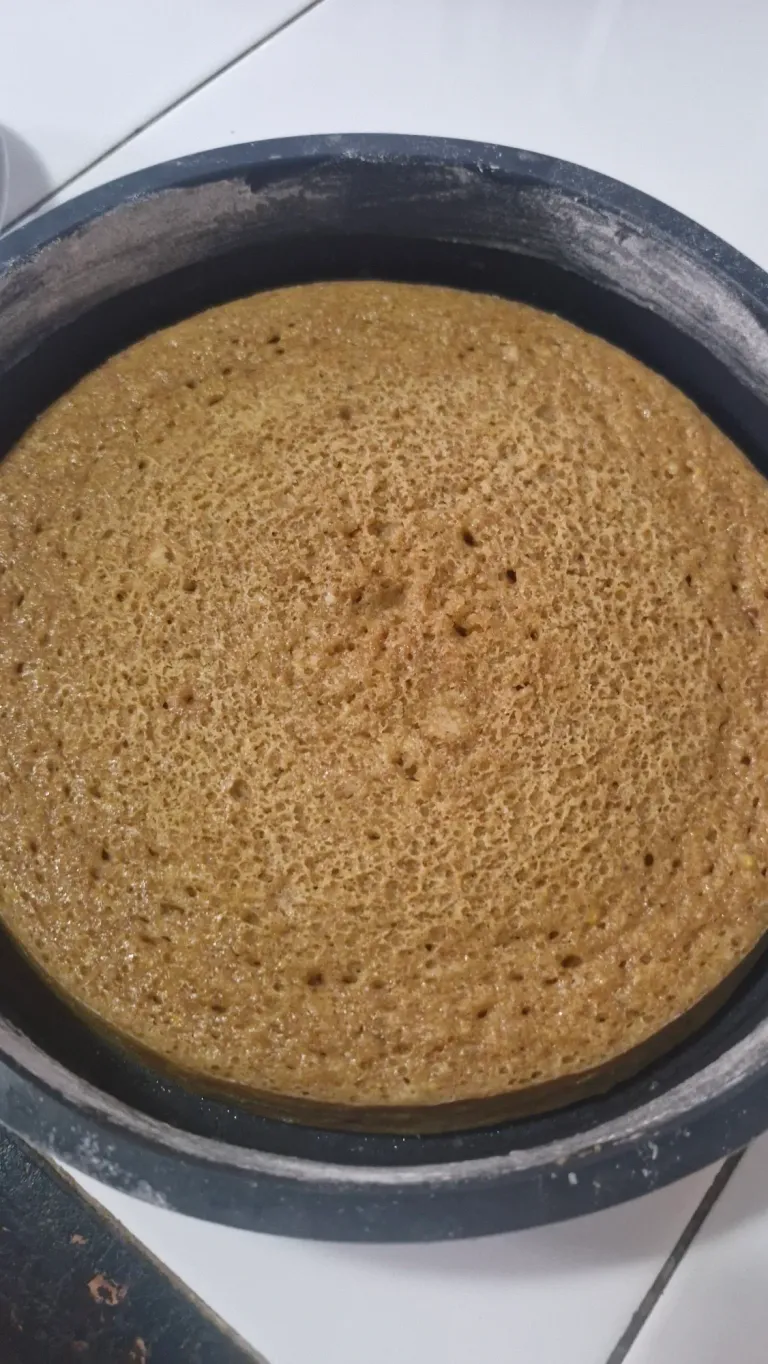
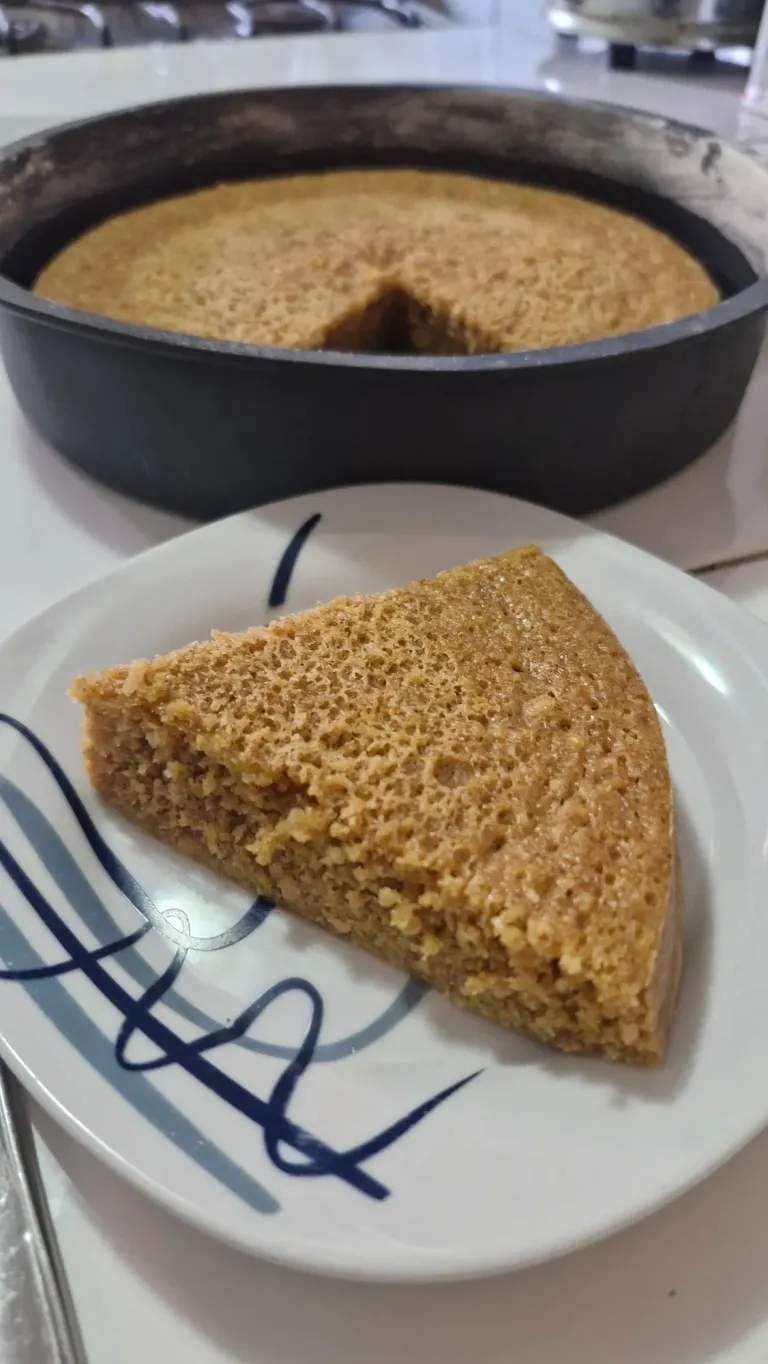
Encontré varias recetas para mi sorpresa y adapté una a mis necesidades y las cositas que tenía en casa. Y salió así esta torta de plátano que ame su resultado, tanto en textura como en sabor.
Ingredientes:
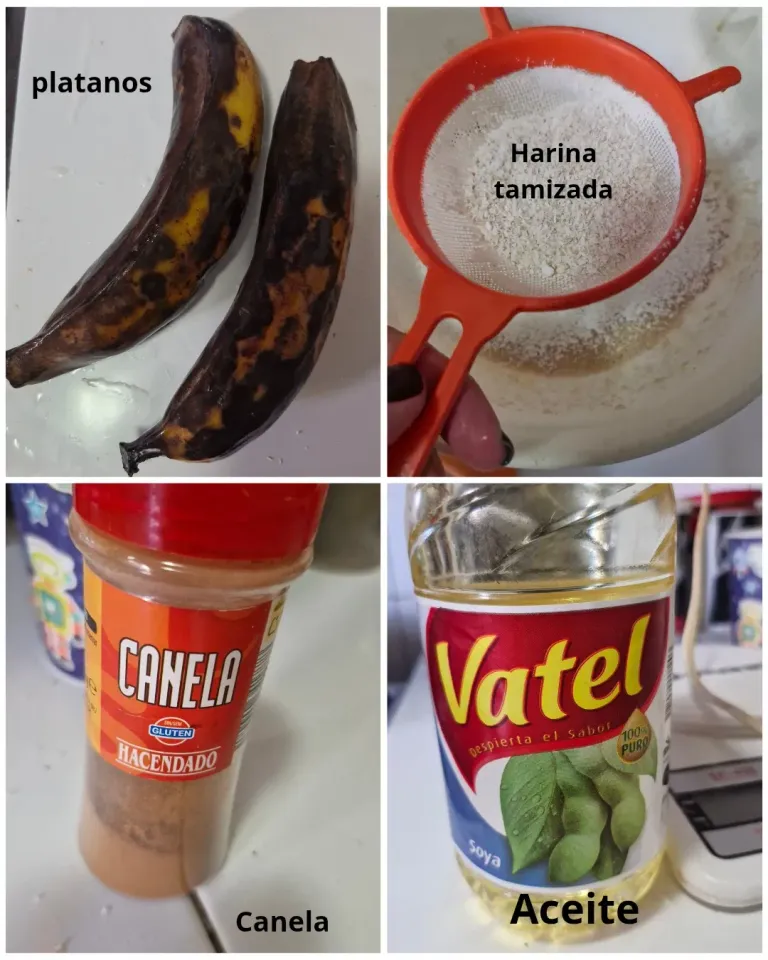
-2 plátanos maduros
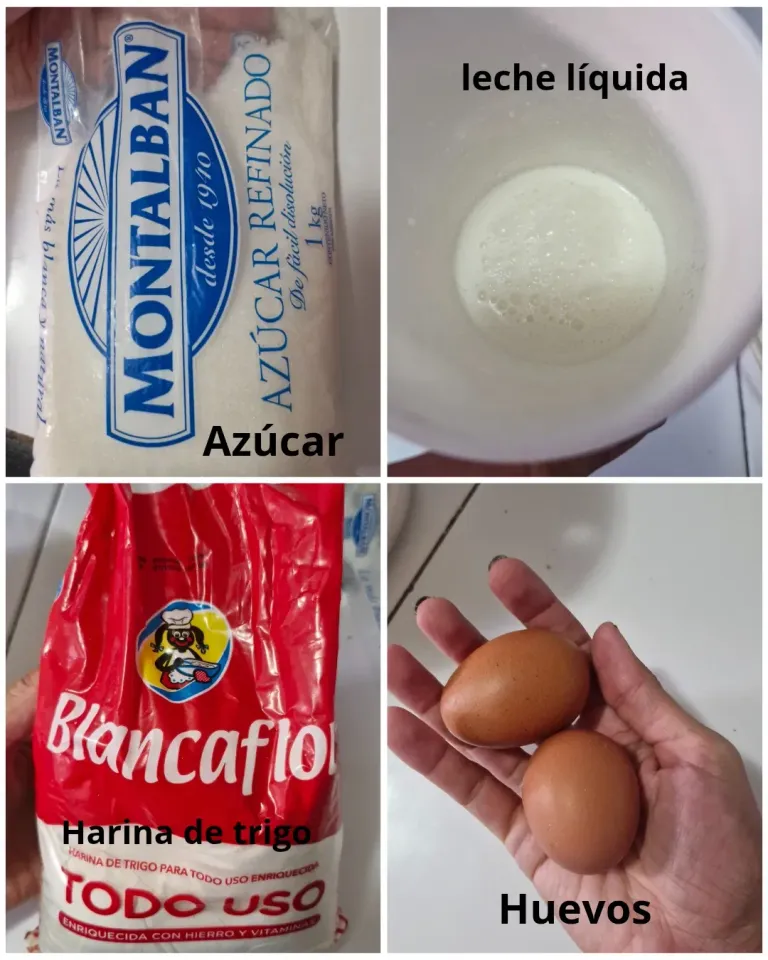
-80 gramos de azúcar.
-85 gramos de harina de trigo
-2 cucharaditas de polvo de hornear
-2 huevos
-6 cucharadas de leche líquida.
-4 cucharadas de aceite vegetal
-Esencia de vainilla
-1 pizca de sal
-canela en polvo
Preparación:
En una licuadora licua los plátanos sin su cáscara con la leche.
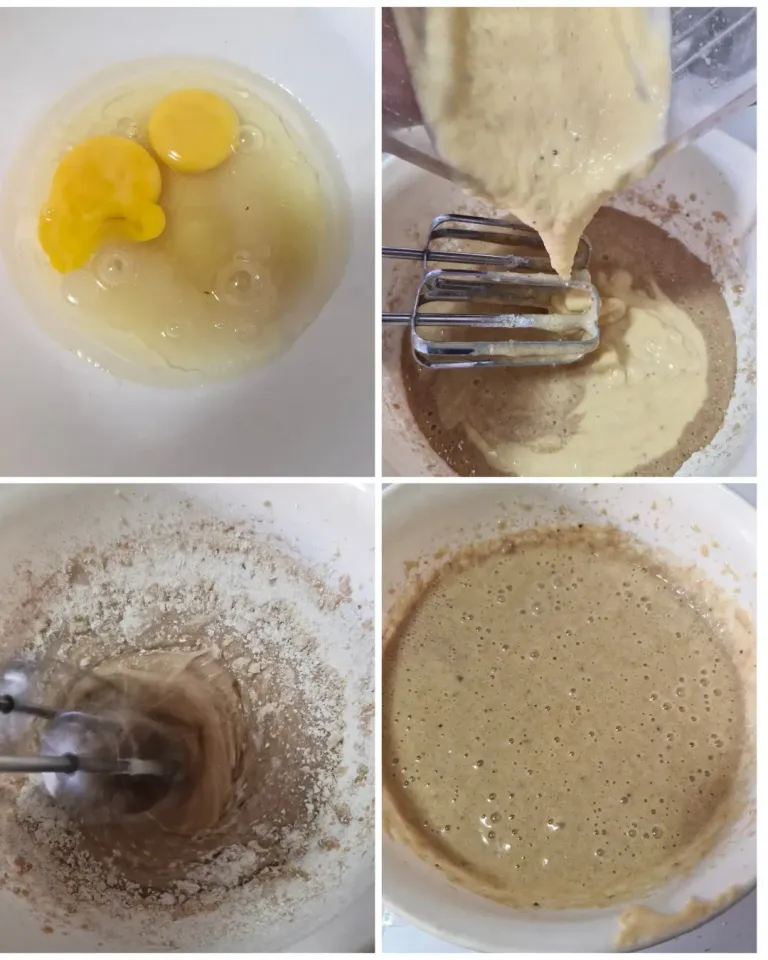
En un bowl agrega los huevos, la azúcar y el aceite y mezcla hasta que la azúcar esté bien disuelta, luego agrega la harina de trigo tamizada con el polvo de hornear y los demás ingredientes poco a poco, yo los mezcle de manera lenta con mi batidora de mano, pero también puedes hacerlo con una paleta, lo importante es que la mezcla quede completamente homogénea, también agrega los plátanos licuados.
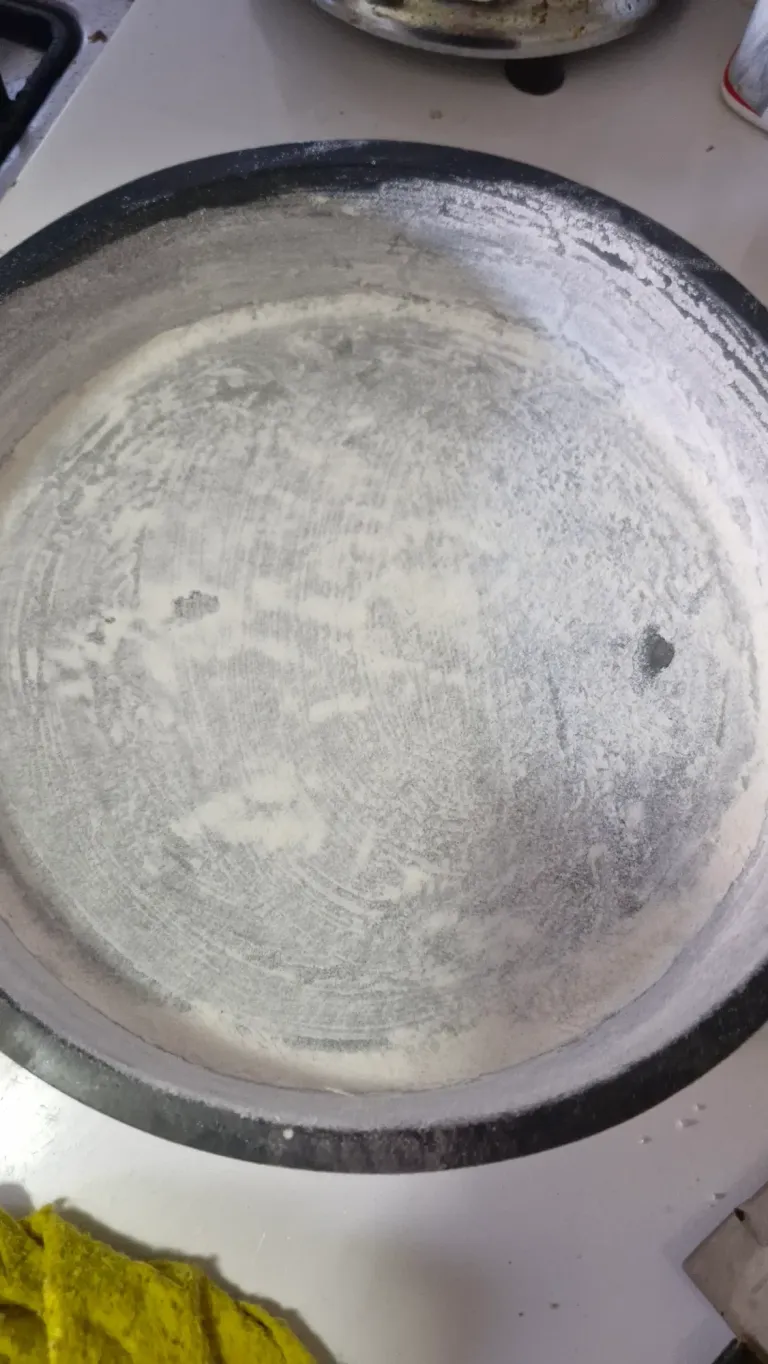
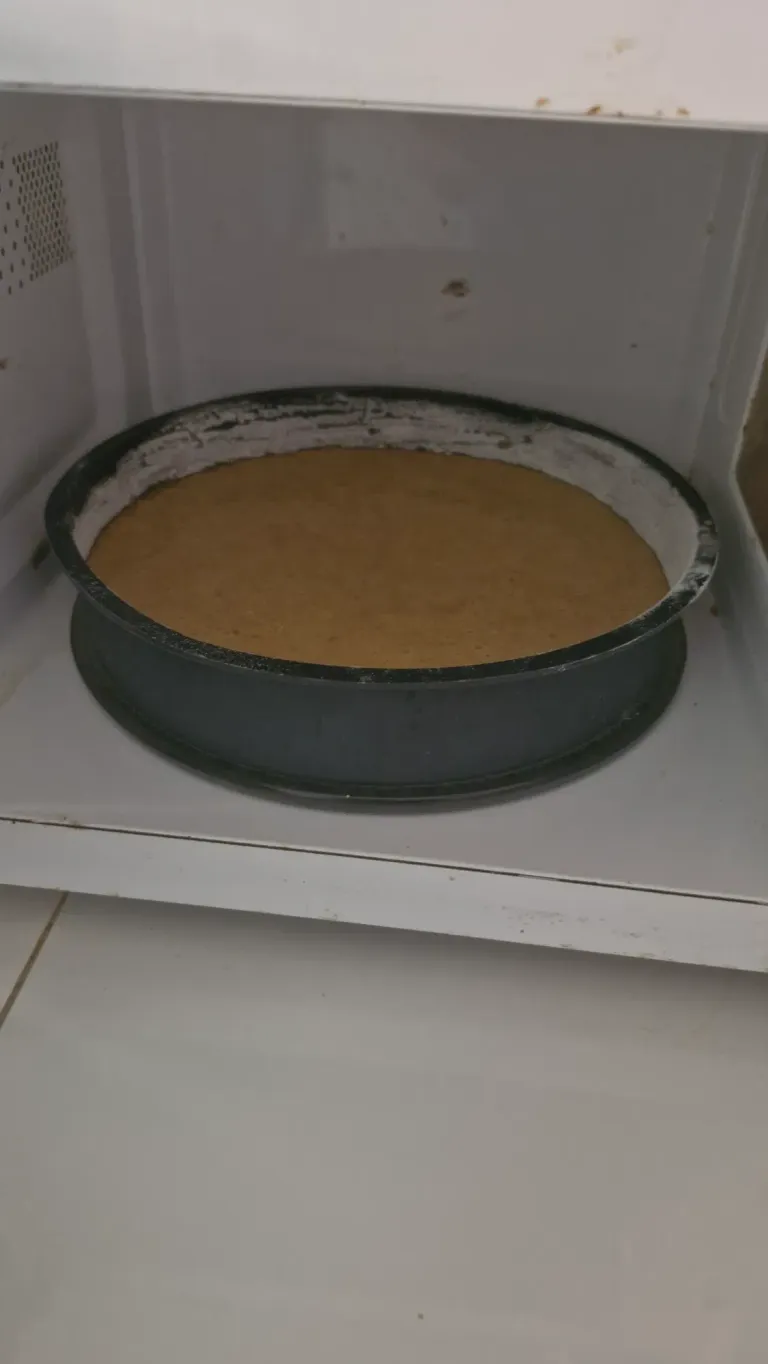
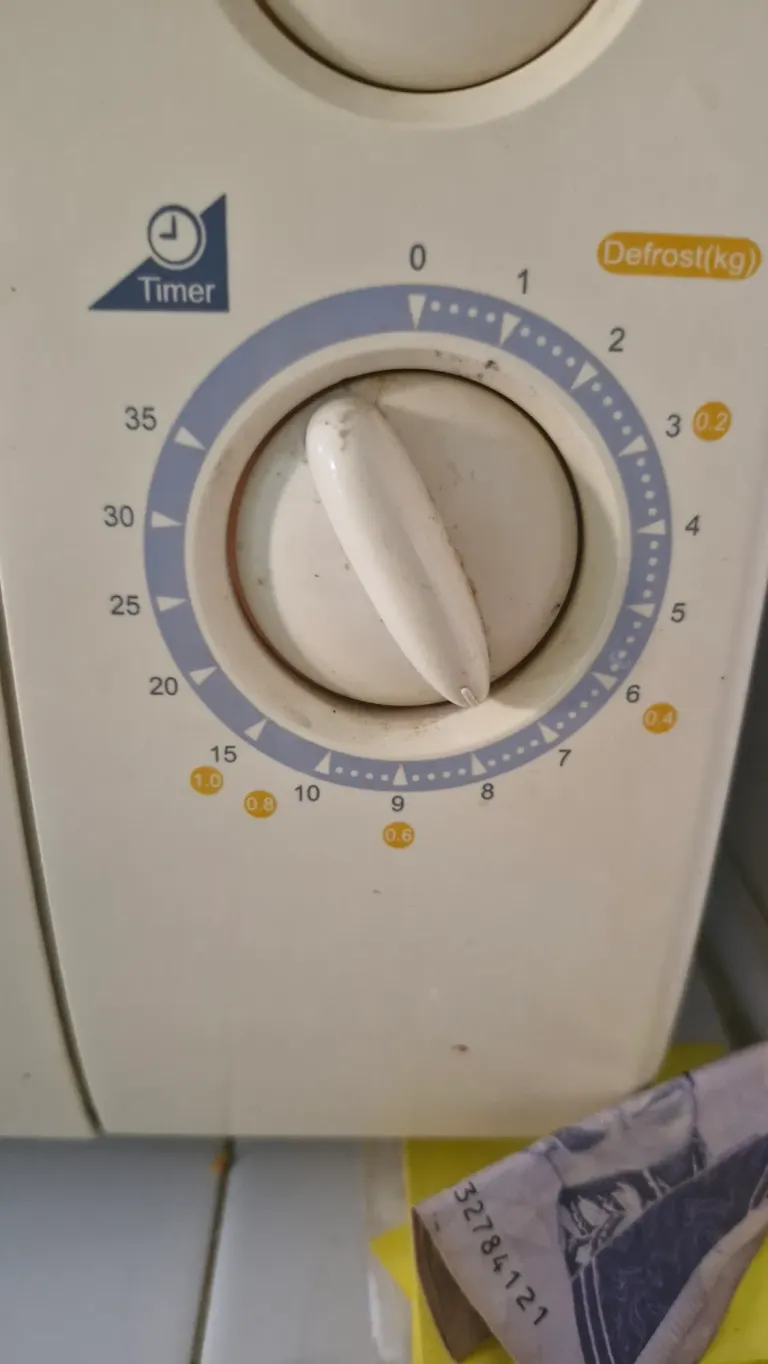
Toma un molde que sea apropiado para cocinar en microondas, en mi caso usé uno de silicona, lo engrase y enharine y vertí la mezcla. Coloque el microondas en su máxima potencia y lo cocine por 15 minutos. Te recomiendo que luego de 10 minutos revises insertando un palillo o un cuchillo a ver si este aún está húmedo o seco. En mi caso, estuvo listo a los 15 minutos. Deje que se enfriara y servi.
Así tuve merienda para mi pareja y para mí por dos tardes seguidas. Nos encantó y por supuesto que volvería a repetir esta receta.
Nos vemos en una próxima publicacion, gracias por todo el apoyo y por todo el amor.
***
Hello, food lovers, as it has become my habit in the afternoons, I want to eat something rich and sweet, but with recipes that are easy to prepare and with ingredients that are easy to get.
It's been a while since the oven in my kitchen was damaged so this time I searched the internet for a recipe that I could make in the microwave and that its main ingredient were bananas, since I had cleaned out my fridge and found some that were quite ripe and I don't like to fry them like that anymore.
I found several recipes to my surprise and adapted one to my needs and the little things I had at home. And so came out this banana cake that I loved its result, both in texture and flavor.
Ingredients:
-2 ripe bananas
-80 grams of sugar.
-85 grams of wheat flour
-2 teaspoons of baking powder
-2 eggs
-6 tablespoons of liquid milk
-4 tablespoons of vegetable oil
-Vanilla essence
-1 pinch of salt
-Powdered cinnamon
Preparation:
In a blender blend the bananas without their peel with the milk.
In a bowl add the eggs, sugar and oil and mix until the sugar is well dissolved, then add the wheat flour sifted with the baking powder and the other ingredients little by little, I mix them slowly with my hand mixer, but you can also do it with a paddle, the important thing is that the mixture is completely homogeneous, also add the blended bananas.
Take a mold that is suitable for microwave cooking, in my case I used a silicone one, grease and flour it and pour the mixture. Place the microwave on its maximum power and cook it for 15 minutes. I recommend that after 10 minutes you check by inserting a toothpick or a knife to see if it is still wet or dry. In my case, it was ready after 15 minutes. Let it cool and serve.
This way I had snacks for my partner and I for two afternoons in a row. We loved it and of course I would repeat this recipe again.
See you in a future post, thanks for all the support and for all the love.
Fotos tomadas por | Photos taken by @cynthiacvb
Dispositivo | Device | samsung s23 FE and others
Fotos editadas en: |Photos edited in | canva /
Traducción con | Translation with| DeepL
For the best experience view this post on Liketu