
It's December, It's Getting Cold
Time to make some EGGNOG! The kind I make is NOT boozie, but it can be if it wants to be. I made this yummy drink this morning, inspired by the A Very Happy Herbie Christmas post. It's been a while since entering a contest and this one looked fun.

Seasonal Eggnog Features Fragrant Cloves and NUTMEG
My favorite ingredients (besides the eggs and cream) are the delicious spices. Cloves are cooked into the creamy-yokey base and freshly grated nutmeg is in the mix and sprinkled on the top. Oh, so good.
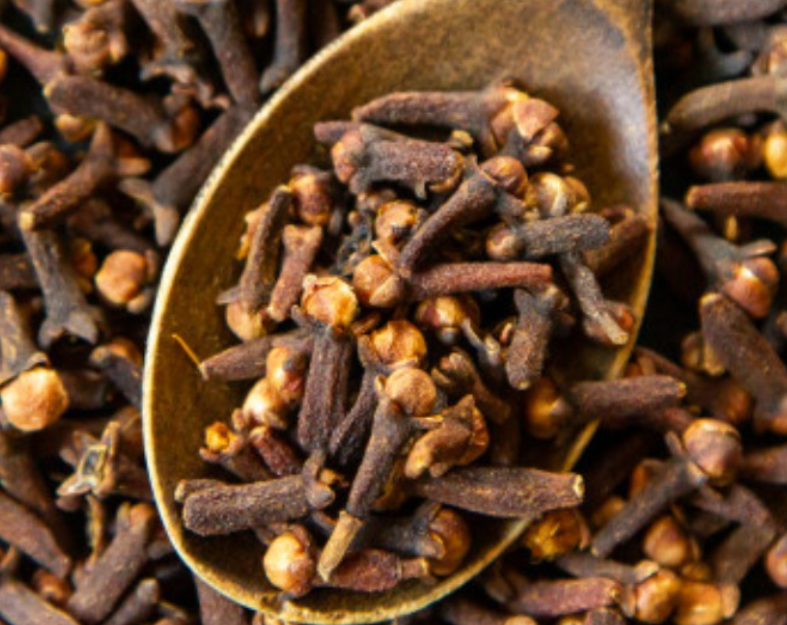
Cloves are actually very healthy. Cloves are good for your bones and the liver, is anti-bacterial, and a teaspoon of ground cloves will provide 55% of your daily Manganese!
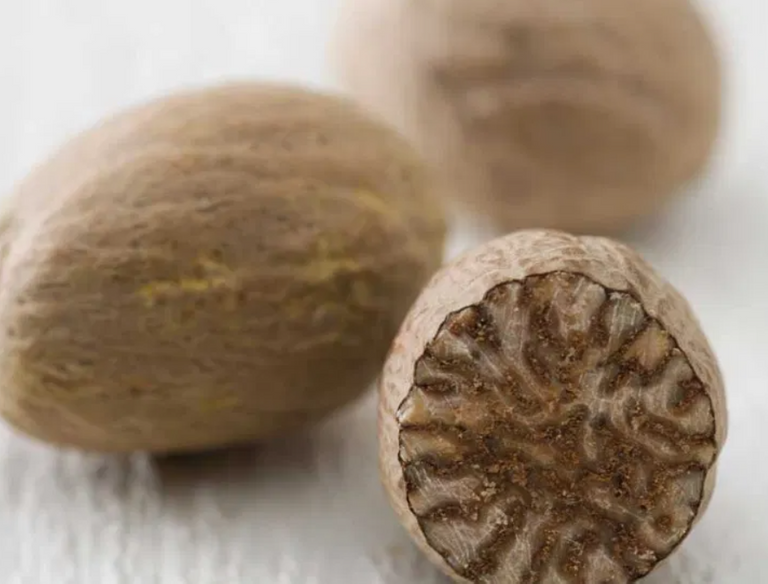
Another healthy 'herbal' ingredient is nutmeg, one of the most essential flavors for eggnog. Helps with depression, digestion and detoxification. Nutmeg also improves brain health and improves sleep.
It's a healthy and delicious ingredient. Even more than eggs, nutmeg is what makes egg nog, egg nog. Maybe we should rename it nutmegnog.
Let's Make 'From Scratch' Eggnog!
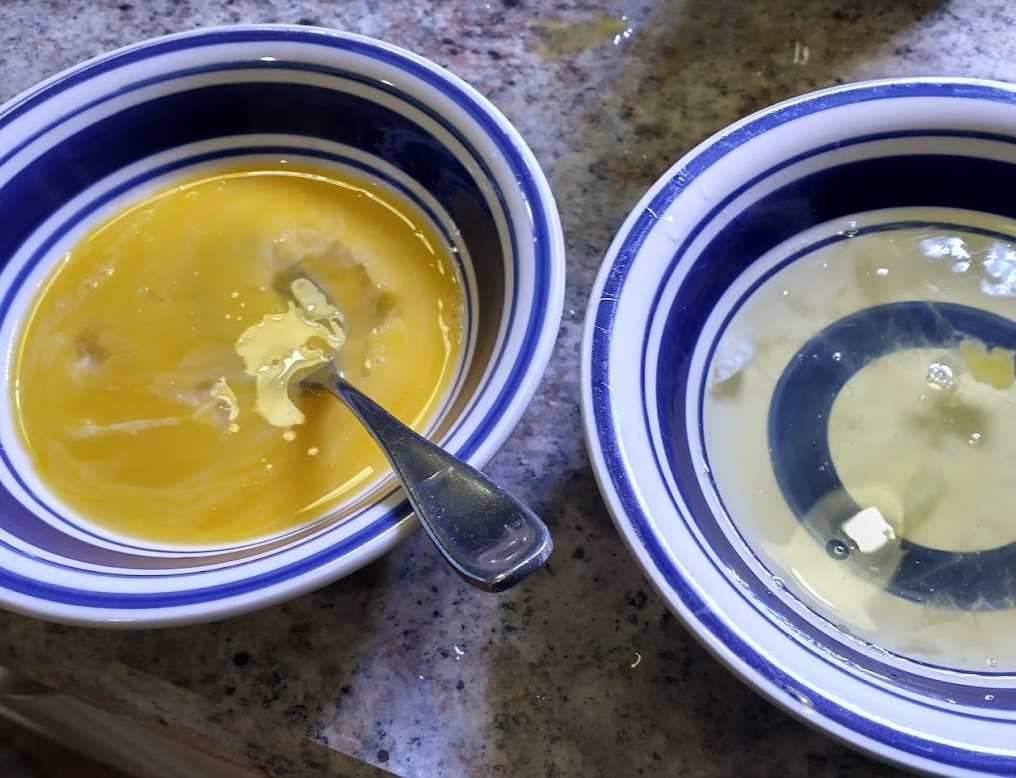
Start with EGGS!! Begin by separating the egg whites from the yokes. I used six eggs, which makes six servings.
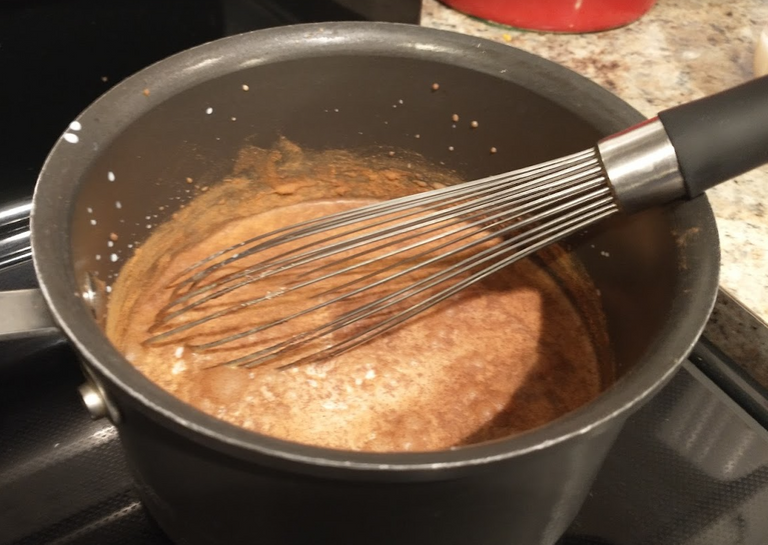
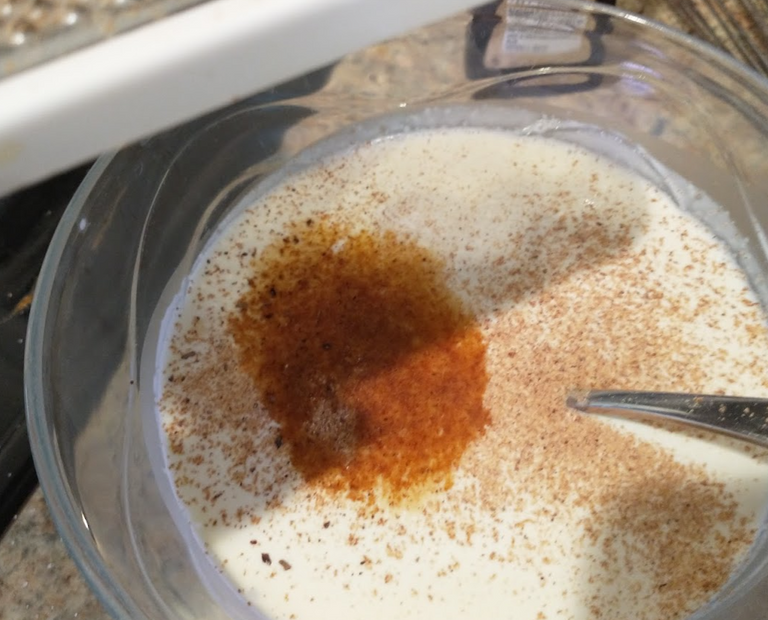
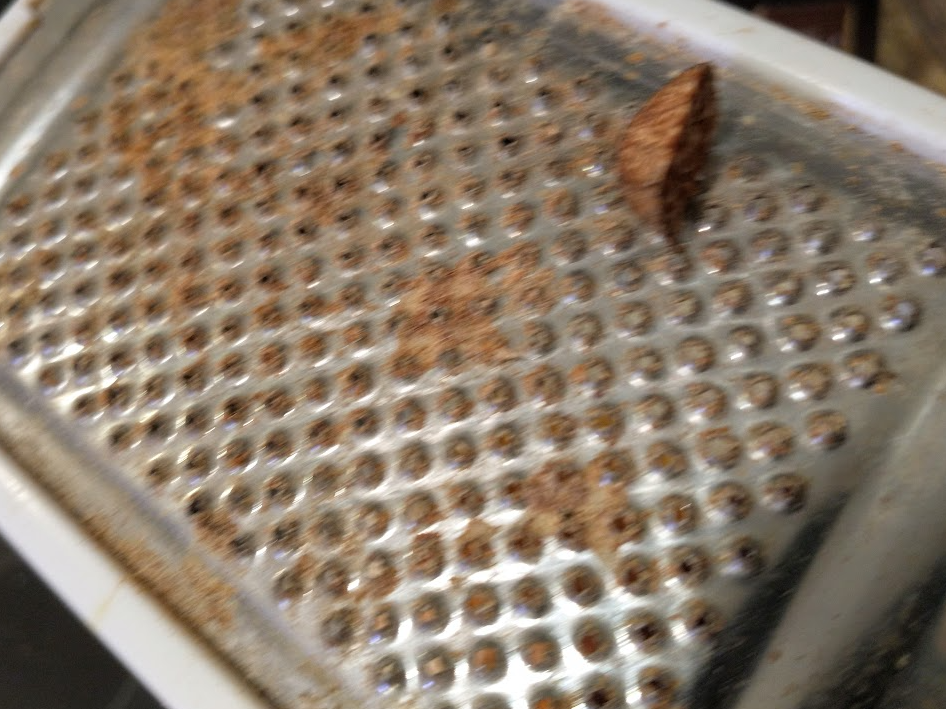
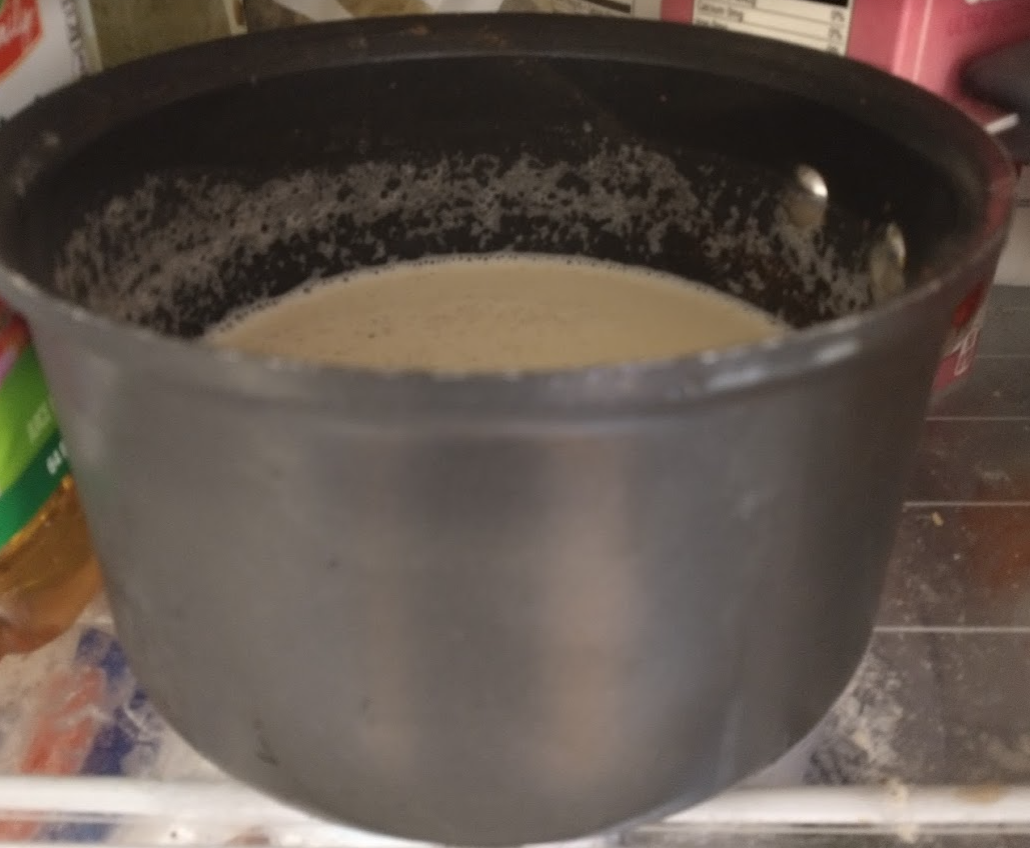
In another pan, put in 2 cups whole milk and add flavor and SPICES. A quarter teaspoon natural vanilla extract, half teaspoon of ground cinnamon, and a few whole cloves. Add some fresh ground nutmeg for extra yummyness!

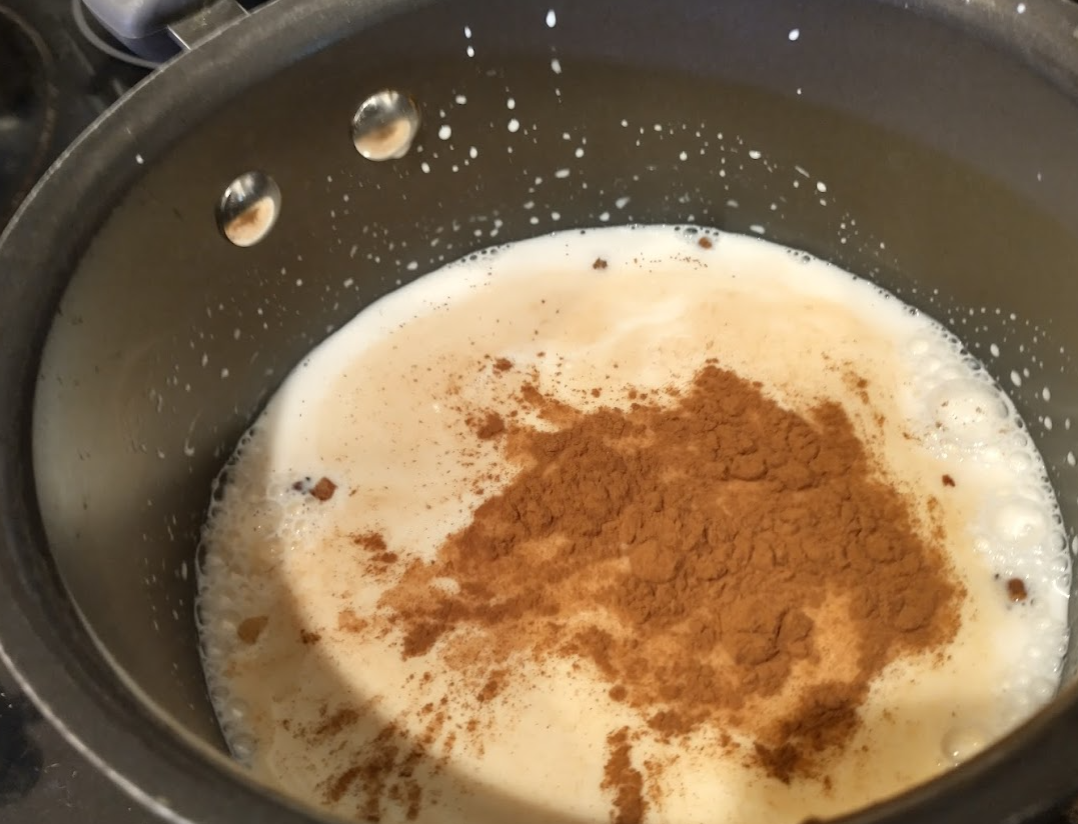
Whisk the flavored milk over low heat until it is hot (not boiling) and all the ingredients mix together.
Back to the Eggs
Add 3/4th cup white sugar slowly to the egg yokes, whisking briskly. The egg yokes transform into a thick and sweet and decadent sauce, just jumping at the chance to GET IN YOUR BELLY!
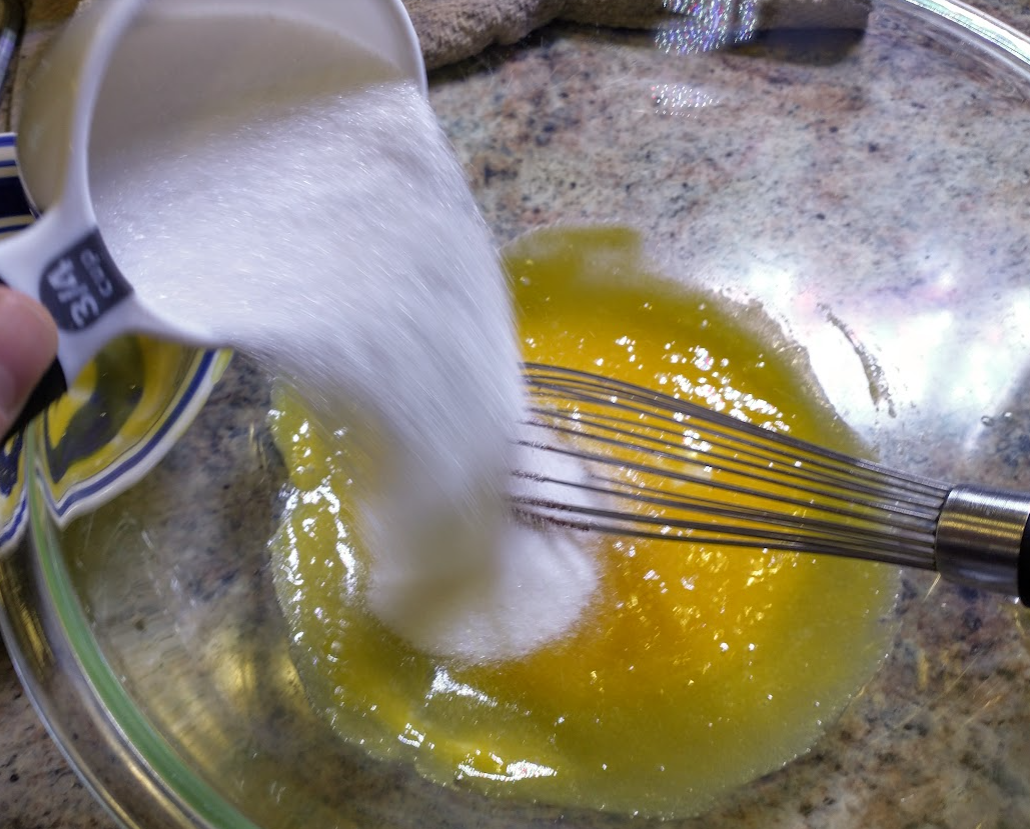
A cascade of sweet delicious mixed into the yokes.

Sugary egg yokes, getting ready to meet a creamy compliment. Nothing better for a cold December day.
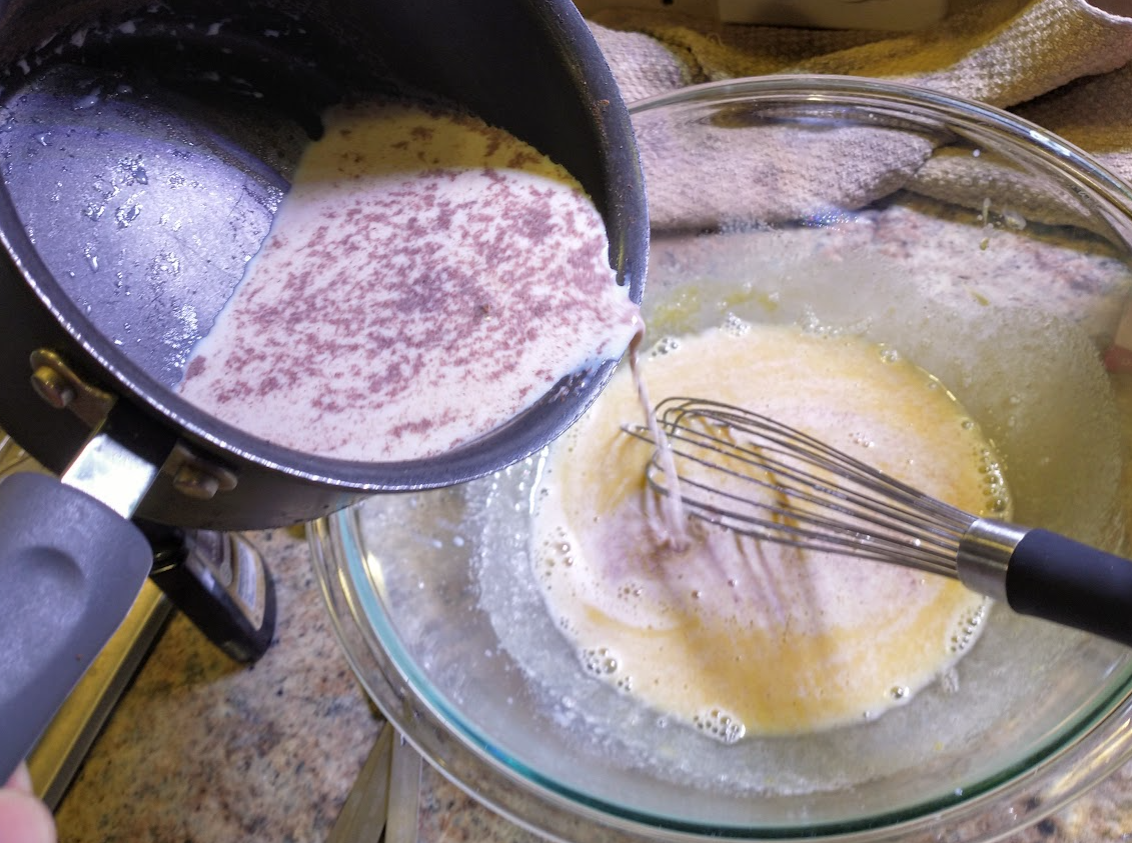
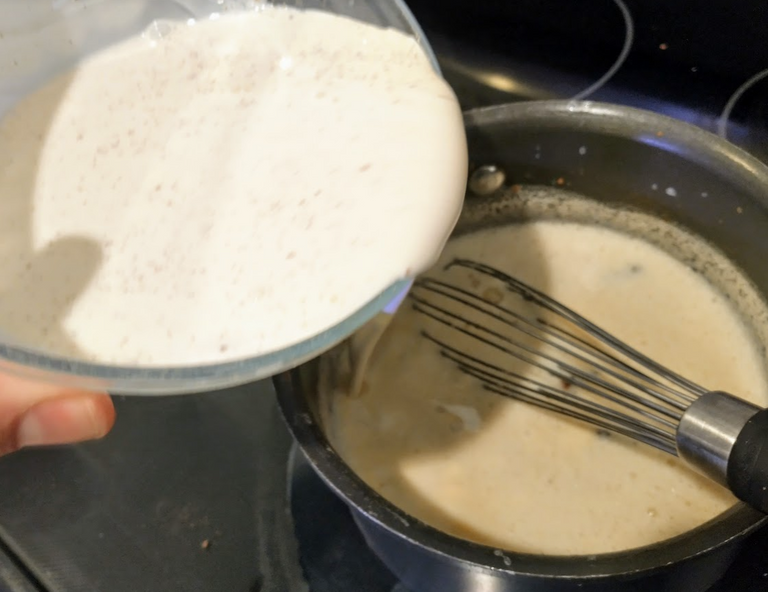
Slowly pour in the flavored milky concoction into the yokes, whisking quickly.
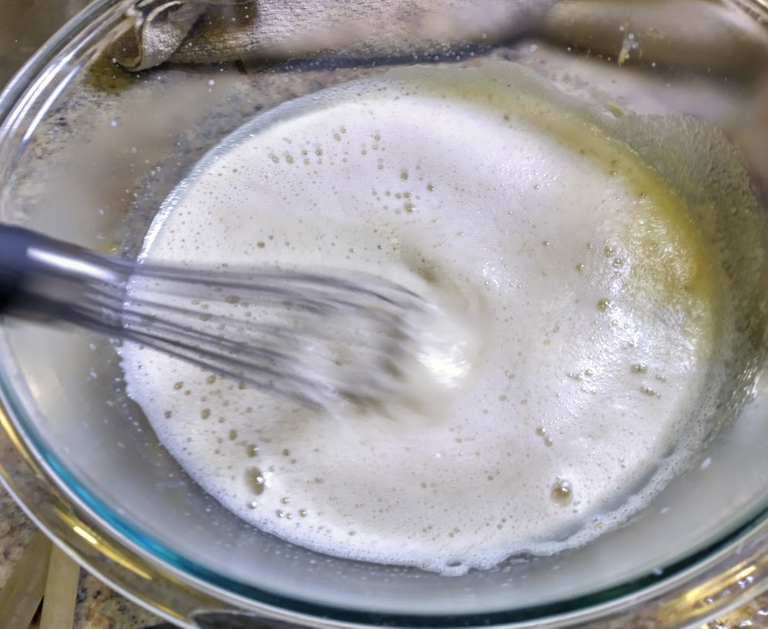
The very core of our eggnog is done, now the next step is creating TEXTURE.
Patience...
The next step requires a lot of self control. At this point, we could just dump in a bunch of cream (and maybe some booze) and call it a day, but the eggnog would be runny. Who want's RUNNY eggnog?
We put the mixture into the refrigerator for one hour for it to set. While it's setting, we get the cream ready!
The Creamy Part
I put two cups of HEAVY WHIPPING CREAM ($$$) in a bowl and add two teaspoons of natural vanilla, and grate two teaspoons of nutmeg. (This is where you add the booze, if you want it boozie).
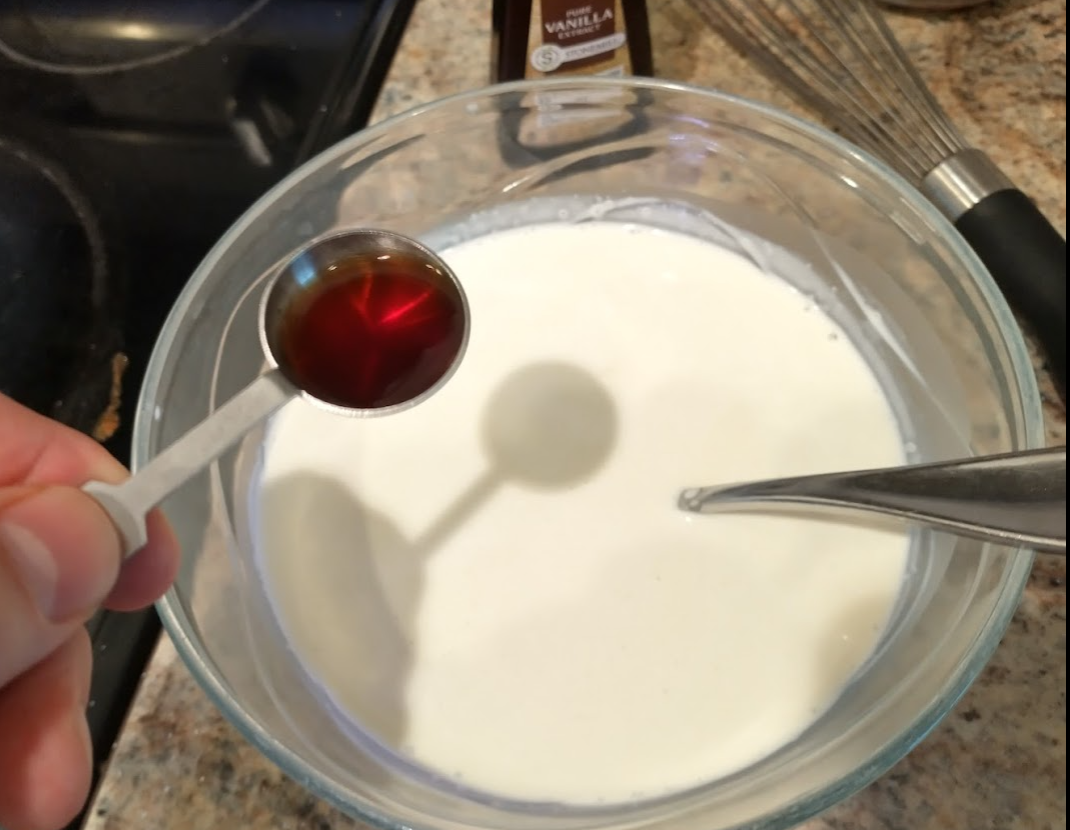
Make sure to be generous with the fresh ground nutmeg!
Egg and Cream Come Together
This is where these ingredients become EGG NOG. We add the delicious thick cream to the prepared egg yokes and thoroughly mix them together. The two come together to form the ultimate in flavors.
More Patience
Now all we need is that signature THICKNESS that egg nog is known for. This requires MORE PATIENCE.
Chill out in the fridge until you are thick and eggnoggie. Bargaining time. Eight Hours? Maybe a little less than eight hours. Six hours? Five hours? At least enough setting time to make it thick. As long as you can hold out.
That's enough. It is very thick!
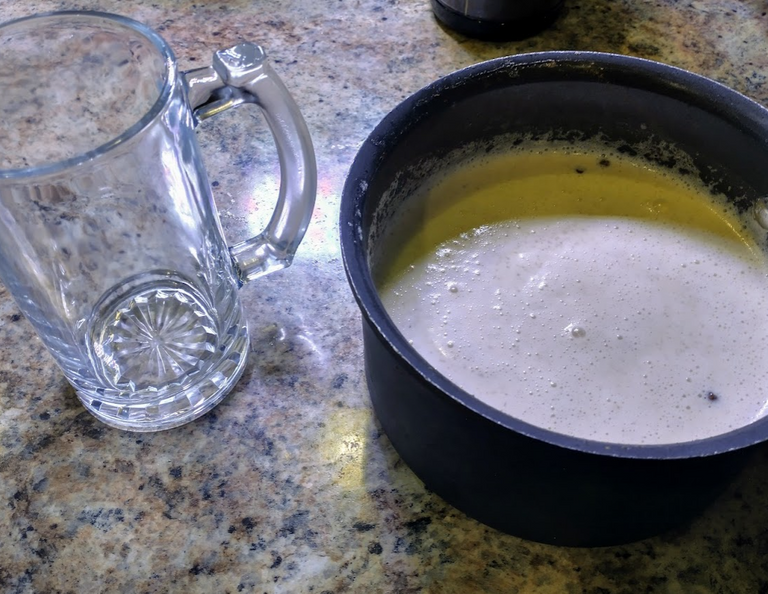
The empty glass is BEGGING to be filled with the luxurious and creamy 'nog.
Pay Off Time: We Have EGG NOG!
When it's time to take that first sip, that's when all that effort and patience really pays off. I pour it into my glass and add some whipped cream on the top.
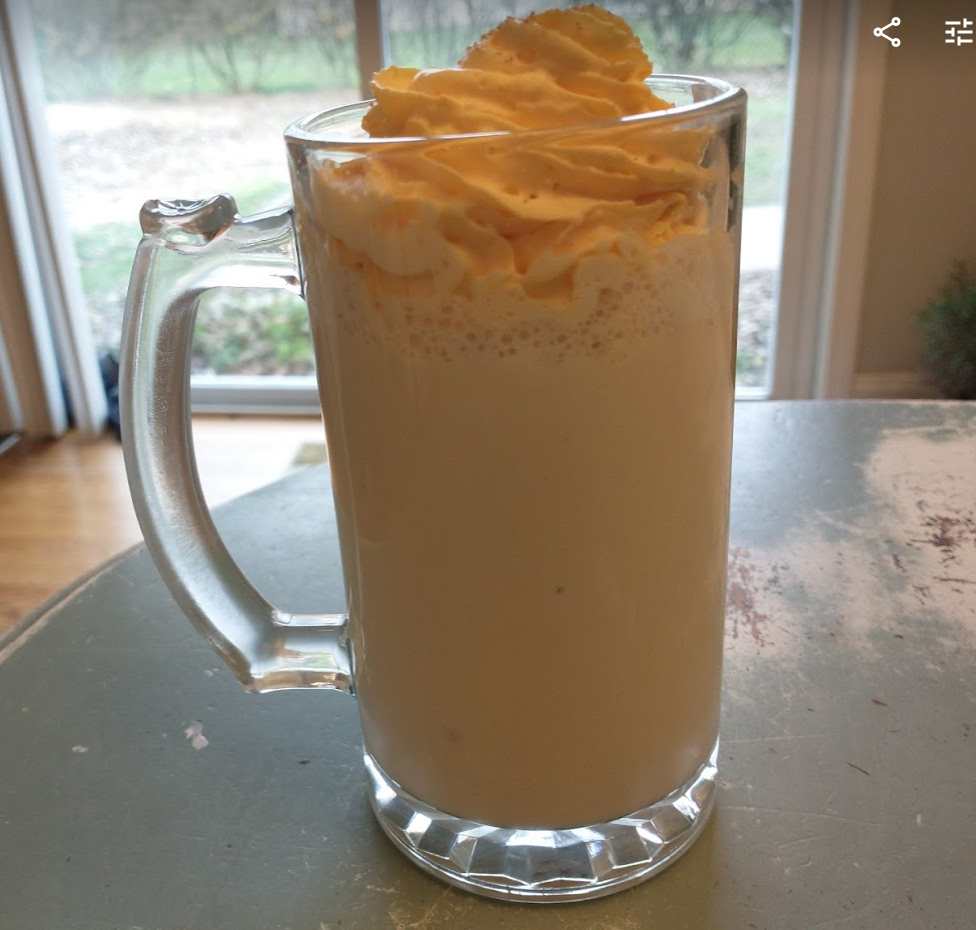
Make sure to grate some extra fresh nutmeg on the top for extra flavor and aroma.

I give it a little taste, before serving it to the rest of the family. Yes, I suppose they can have some too. :-)
Review:
It's thick.
It's creamy.
It's nutmeggie.
It's eggnoggie.
It's made my mustache messy.
It tastes far better than anything from the store.
It might be good boozie, but maybe not in the middle of the day.
It was a good decision. Did I mention it was a good decision? Worth it.
I wish I could share a glass with every one of you!


Bless the Most High!