The article in Japanese is in the second half.★日本語の記事は後半にあります。
I have been wanting to try baking bread with rice flour for a long time and have been gathering information.
As you all know, rice flour does not have the consistency of gluten, so you have to be creative.
I wanted to be able to bake rice-flour bread with ingredients that were readily available and could be purchased at the supermarket, so I did a lot of research.
As a result, I came across a recipe for mixing tofu into the mixture.
This method uses only the water in the tofu to hold the flour together.
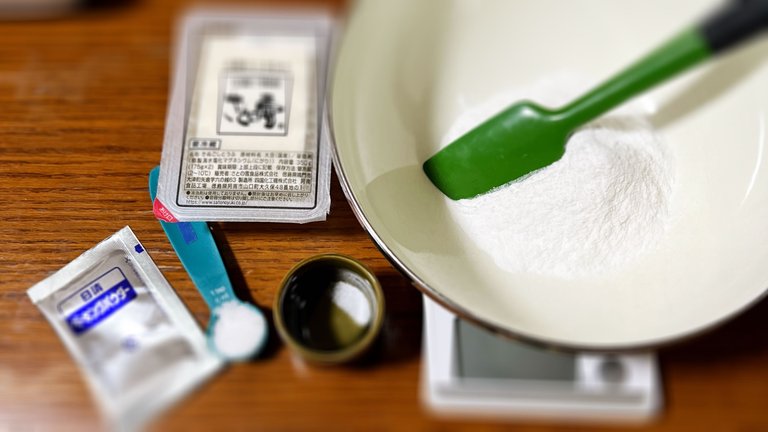
120 g tofu
60 g rice flour
1 teaspoon sugar
pinch of salt
1 teaspoon baking powder
In this case, a package of tofu weighed 175 g, so we used 88 g of rice flour.
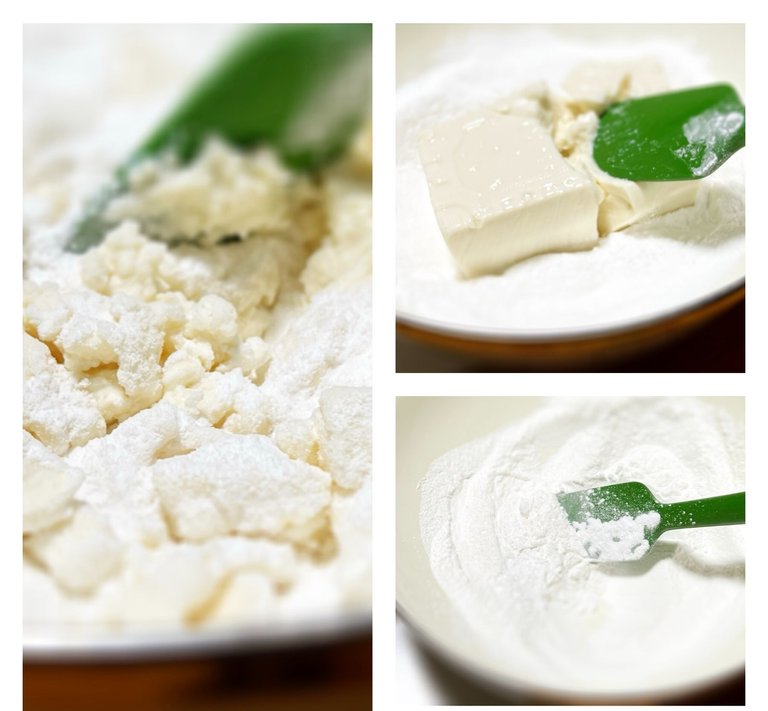
Prepare these ingredients and mix everything together carefully.
Mash the tofu thoroughly with a rubber spatula to blend it with the rice flour.
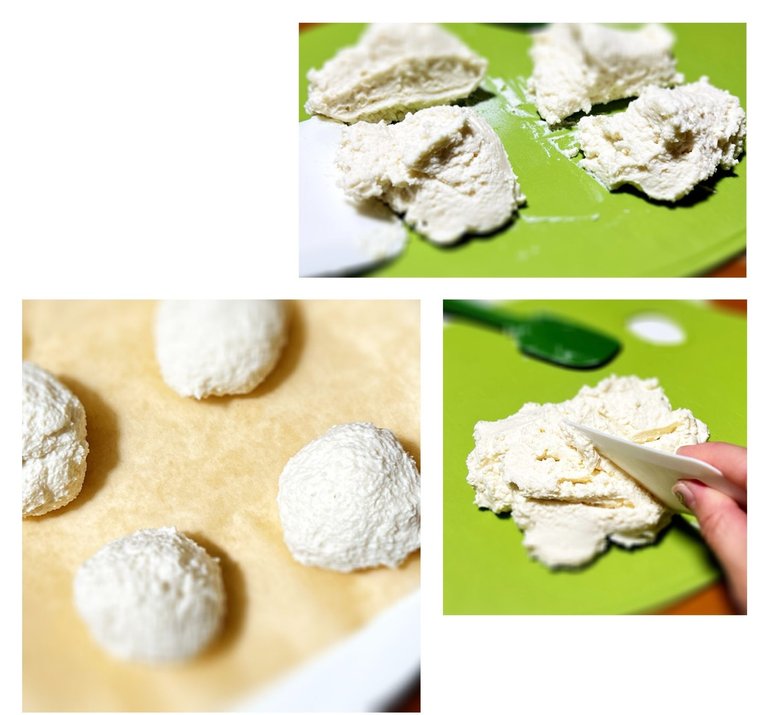
Once evenly mixed, I spread it out on a table and divided it into 4 equal portions.
If using 120 g tofu and 60 g rice flour, three equal portions would be a good size.
The dough made of rice flour and tofu was still difficult to roll out neatly.
I wanted to make the surface as smooth as possible, but was unable to do so this time.
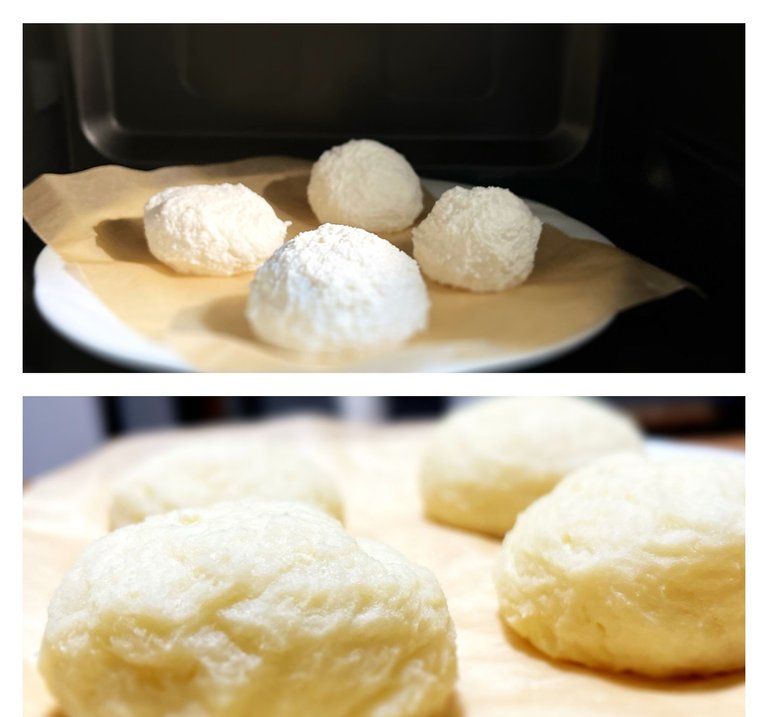
This "rice flour and tofu" bread can be baked in the "warming function" of a microwave oven.
In other words, there is no need to bake it in an oven.
Since no raw ingredients (flour or eggs) are used at all, there is no need to bake it.
In this case, warming was done at 600W for 5 minutes.
At this point, I could have devised a way to "steam" the baking by covering the surface with a damp cloth, but I did not think of that this time.
So, the surface became a little dry.
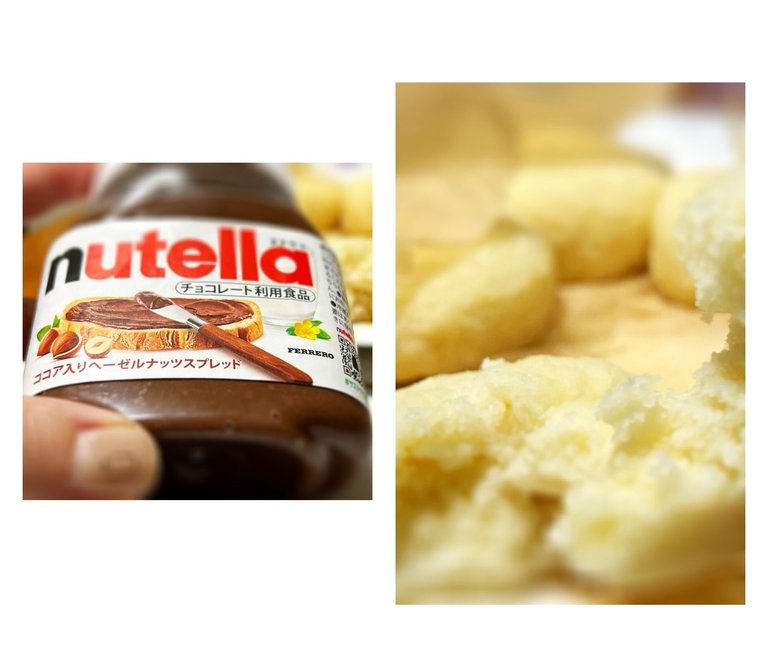
I was able to buy Nutella at a local supermarket.
I actually like Nutella quite a bit.
I will have rice flour tofu bread with Nutella.
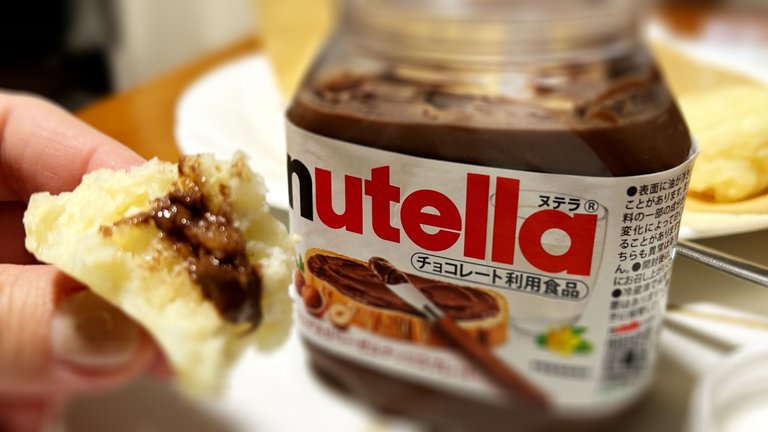
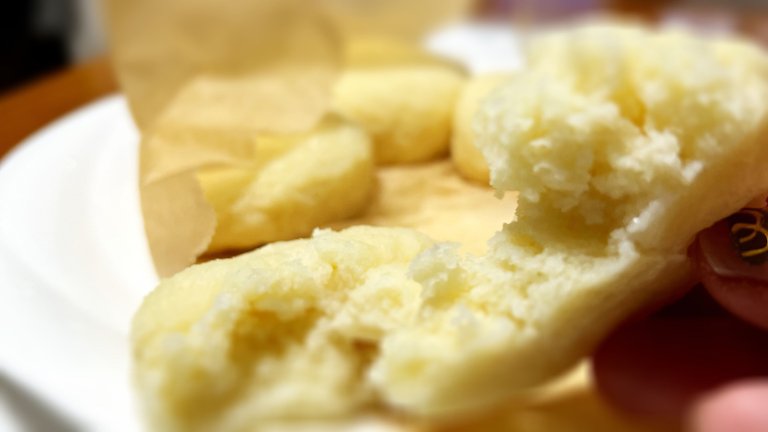
The rich Nutella and the chunky rice flour tofu bread went very well together.
I enjoyed it.
This was my first time making rice-flour bread myself at home, and I was satisfied with the results.
I would like to add cocoa powder, nuts, and have more fun with it.

■diary with a few words
The air gets dry, so I try not to turn up the heat too much.
Just warming my feet with a hot water bottle makes a big difference.
But when it is cold, my stiff shoulders get worse.
I feel much better when I warm myself in the bath.

Japanese★ここから日本語でお送りいたします。
ずっと米粉でパンを焼くことにチャレンジしたくて、情報を集めていました。
皆さんご存知の通り、米粉はグルテンによる粘りがありませんので、工夫が必要です。
オオバコのハスクファイバーを添加したりしますが、私はできるだけ「すぐに手に入る材料」「スーパーマーケットで購入できる材料」で米粉パンを焼けるようにしたくて、色々と調べていました。
その結果、豆腐を混ぜ込むというレシピを知ることができました。
豆腐に含まれる水分だけで粉をまとめる方法です。
豆腐 120g
米粉 60g
砂糖 小さじ1
塩 ひとつまみ
ベーキングパウダー 小さじ1
今回は豆腐1パックが175gだったので、米粉を88g使用しました。
これらを準備して、全てを丁寧に混ぜ合わせます。
豆腐はゴムベラでしっかり潰して、米粉と馴染ませます。
均等に混ざったら、台の上に広げて、4等分しました。
豆腐 120gと米粉 60g使用の場合は、3等分がちょうど良い大きさになるでしょう。
米粉と豆腐で出来ている生地は、やはり綺麗に丸めることが難しかったです。
表面をできるだけつるつるに仕上げたいと思いましたが、今回は出来ませんでした。
この「米粉と豆腐」を使用するパンは、電子レンジの「温め機能」で焼くことができます。
つまり、オーブンで焼成する必要はありません。
生の食材(小麦粉や卵)を全く使用していないので、焼成する必要がないのです。
今回は600Wで5分温めを行いました。
この時、表面を湿らせた布で覆うなど「蒸し焼き」にする工夫をすれば良かったのですが、今回そのことを思いつきませんでした。
なので、表面がやや乾いた感じになってしまいました。
近所のスーパーマーケットでヌテラを買うことができました。
私、実はヌテラが結構好きです。
米粉豆腐パンにはヌテラをつけていただくことにします。
こってりしたヌテラと、もっちりした米粉豆腐パンは、とても相性が良かったです。
私は美味しくいただきました。
米粉のパンを初めて自分で自宅で作りましたが、満足のいく出来上がりになりました。
ココアパウダーを入れたり、ナッツを入れたり、もっと楽しんでみたいです。
■ひとこと日記
空気が乾燥してしまうので、暖房を強くし過ぎないように気をつけています。
湯たんぽで足元を温めるだけでだいぶ違います。
でも、寒いと肩こりが酷くなりますね。
お風呂で暖まったらだいぶ肩こりが楽になりました。

Google Translate & DeepL, thank you as always.
I am glad that you read it :-)
今日も読んでくださってありがとうございます😊