Saludos comunidad de Hive espero que se encuentren bien, hoy vengo con una publicación en la que presento una elaboración de pan campesino en 5 sencillos pasos con lo cual podrán evitar los errores comunes cuando se es nuevo en el mundo de la panadería. El pan campesino deriva su origen en Europa, tiene por característica que es un pan de gran tamaño, con un sabor suave y una apariencia rustica, dependiente del lugar, tiempo y gusto. Su elaboración es propia de los campesinos, tras la migración europea en el siglo pasado el pan campesino se hizo famoso en Venezuela, adquiriendo particularidades propias a los gustos del Venezolano.
Greetings Hive community I hope you are well, today I come with a publication in which I present an elaboration of peasant bread, this type of bread derives its origin in Europe, its characteristic is that it is a large bread, with a relatively neutral flavor and a rustic appearance, depending on the place, time and taste its preparation is typical of the peasant, after the European migration in the last century the peasant bread became famous in Venezuela, acquiring its own particularities to the tastes of Venezuelan
Para la elaboración necesitaremos los siguientes ingredientes:
-1 kg de Harina de panadería.
-40 gr de mantequilla.
-20 gr de levadura.
-20 gr de sal.
-2 cucharadas de azúcar.
-450 ml de agua.
For the preparation we will need the following ingredients:
 )
)

- 1 kg of baker's flour.
- 40 gr of butter.
- 20 gr of yeast.
- 20 gr of salt.
- 2 spoonfuls of sugar.
- 450 ml of water.
Paso 1: armar el misenplas (mise in place).
Lo primero que debemos hacer es poner todos los ingredientes que vamos a utilizar en la mesa de trabajo, créeme, te va a ahorrar muchos accidentes a la hora de preparar comidas, en este caso, el pan.
Step 1: assemble the misenplas (mise in place).
The first thing we must do is to put all the ingredients we are going to use on the work table, believe me, it will save you many accidents when preparing meals, in this case, bread.)
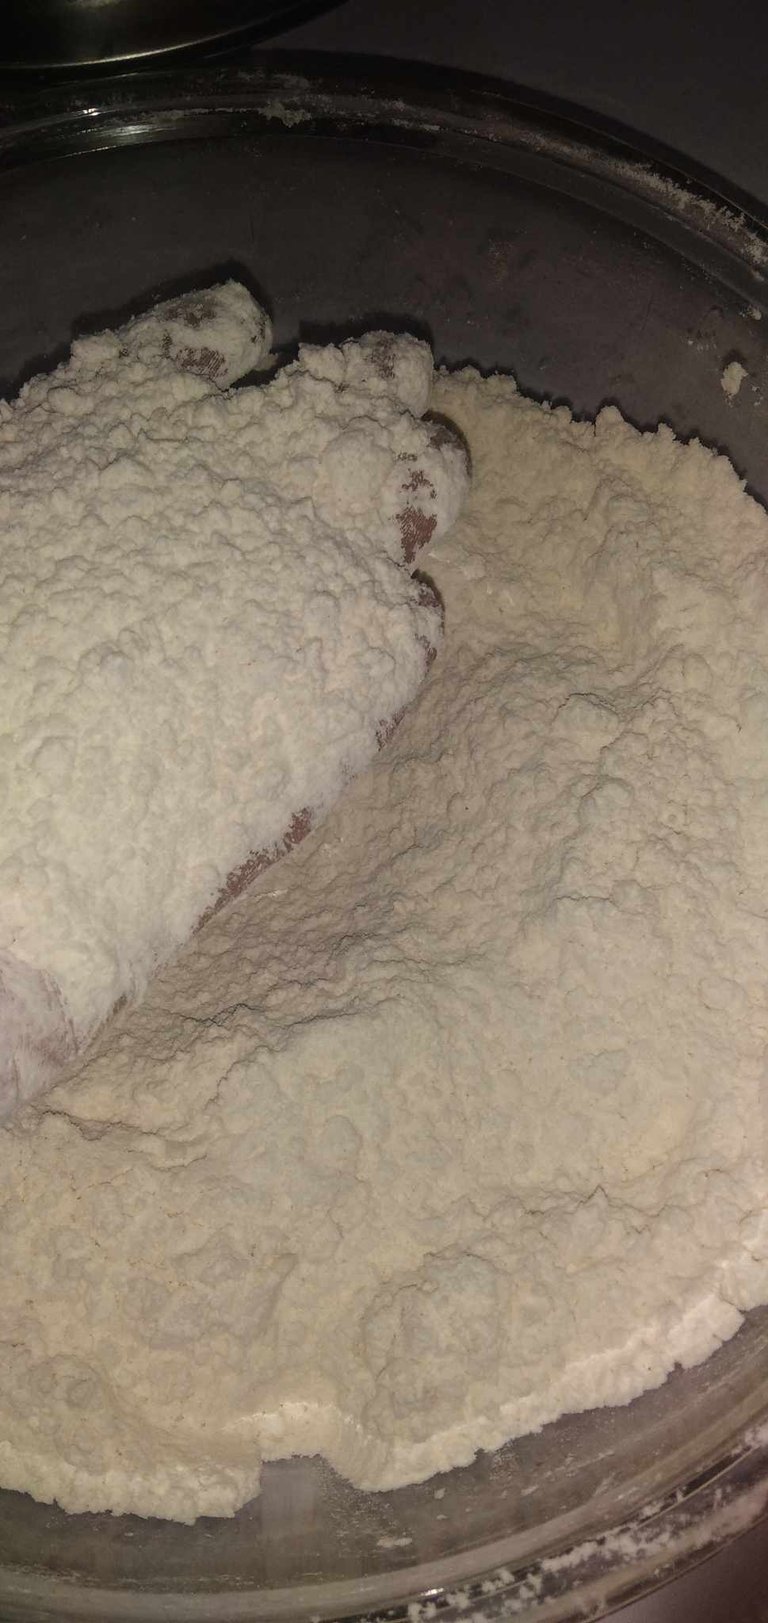
Paso 2: tamizar la harina.
En este paso debemos pasar poco a poco la harina por un colador, vertiendo el contenido sobre un bol o taza grande con capacidad de un kilo.
Step 2: Sift the flour.
In this step we must pass little by little the flour through a sifter, pouring the sieve, pouring the contents into a bowl or large cup with a capacity of one kilogram or more.
Paso 3: Unir los ingredientes secos.
En este punto debemos unir los ingredientes solidos de manera ordenada de la siguiente manera:
A) Integrar la mantequilla con la Harina.
B) Integrar la sal.
Aunque parezca sencillo este paso puede ser que cometamos un grave error, para no cometerlo se debe realizar lo siguiente:
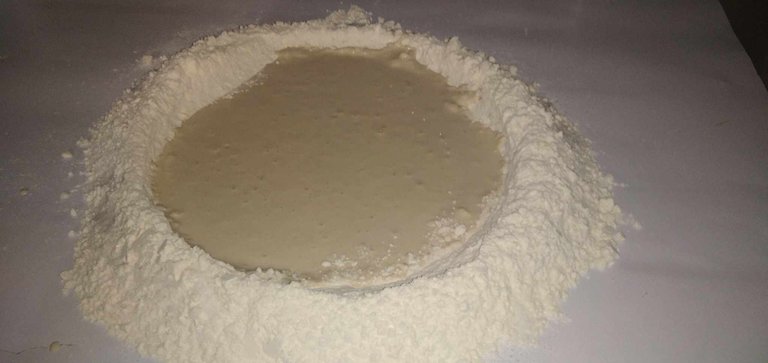
Agarramos el bol y vaciamos la harina en la superficie donde tenemos planeado amasar, desde el medio abre un espacio circular, en la parte exterior que formamos ponemos la sal y la distribuimos de forma equitativa.
No es recomendable unir la sal con la levadura, ya que no soporta salinidad directa.
Step 3: Combine the dry ingredients.
At this point we must unite the solid ingredients in an orderly manner as follows:
A: Integrate the butter with the flour.
B) Integrate the salt.
Although it seems simple this step can be that we commit a serious mistake, not to make it should be done as follows:
We grab the bowl and empty the flour on the surface where we plan to knead, from the middle a circular space, on the outside of the circle that we form we put the salt and distribute it evenly
It is not advisable to join salt with the yeast, since it does not support direct salinity.
Poco a poco trataremos de integrar la mantequilla desintegrándola suavemente con la harina, hasta que tome un aspecto arenoso/ Gradually try to integrate the butter by gently disintegrating it with the flour, until it takes on a sandy aspect.
Ingredientes secos y líquidos previo al amasado/ Dry and liquid ingredients before kneading
Paso 4: La levadura.
Dejo un apartado para este ingrediente ya que una gran parte de los errores tienen su origen en la levadura.
La levadura hay que activarla con el fin principal de saber si está en buen estado para que el pan comience a fermentar de manera acelerada.
Para saber si la levadura se activa prueben agarrando una taza y echan 60 ml de agua, las dos cucharadas de azúcar y la levadura, revuelven hasta integrarlo y lo tapan, después de 10 minutos debería formarse una espuma, de no hacerlo, esperen unos minutos más, si no ocurre nada desechen la prueba.
Step 4: The yeast.
I leave a section for this ingredient since a great part of the errors have their origin in the yeast.
The yeast must be activated with the main purpose of knowing if it is in good condition so that the bread begins to ferment in an accelerated way.
To find out if the yeast is activated, test by taking a cup and pour 60 ml of water, the two tablespoons of sugar and the yeast, stir until it is integrated and cover it, after 10 minutes a foam should form, if not, wait a few more minutes, if nothing happens, discard the test.
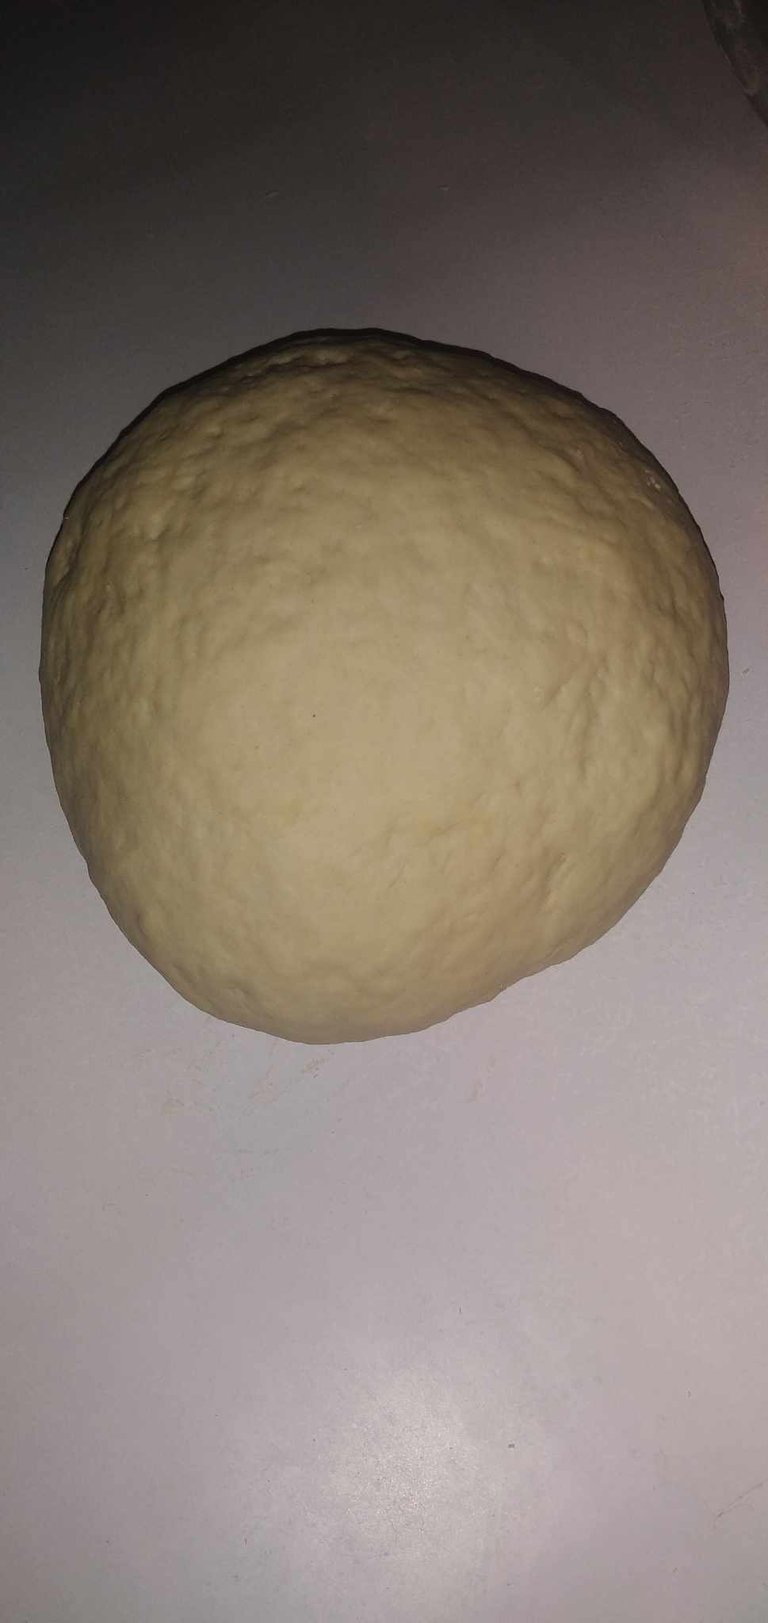
Paso 5: El amasado.
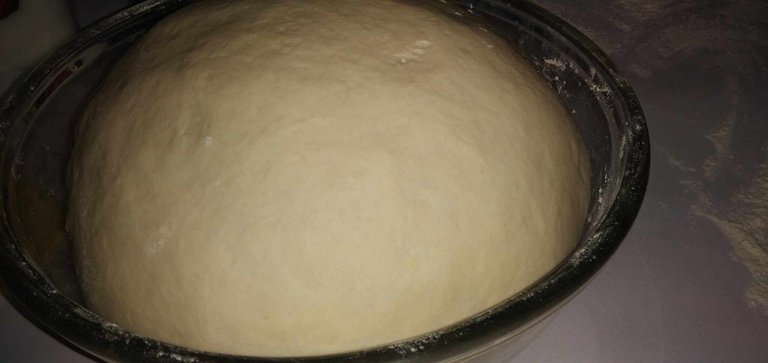
Con la levadura activada en el agua la vaciamos en el medio de la harina junto a 300 ml de agua, incorpora la harina con el agua poco a poco hasta que se vaya poniendo sólida, integran todo durante 10 a 20 minutos, hacen de la masa una bola y la dejan reposar en un bol con harina en su interior, los lapsos de reposo dependen de la preferencia de cada persona, si eres nuevo en esto, recomiendo que dejes que la masa duplique su tamaño, una vez logrado esto, puedes volver a amasar, repite esto un par de veces hasta que pase de una masa poco compacta hasta una masa lisa y suave, la pesas, la cortas y la amoldas a tu gusto, ya quieras un pan redondo o largo.
Step5: The Kneading.
With the yeast activated in the water, pour it in the middle of the flour along with 300 ml of water, incorporate the flour with the water little by little until it becomes solid, integrate everything for 10 to 20 minutes, make the dough into a ball and let it rest in a bowl with flour inside, the rest time depends on the preference of each person, if you are new to this, I recommend that you let the dough double its size, once this is achieved, you can knead again, repeat this a couple of times until it goes from a little compact dough to a smooth and soft dough, weigh it, cut it and mold it to your liking, whether you want a round or long bread.
)
Primer amasado/ First mixing
Segundo amasado/Second kneading
Tercer amasado/Third mixing
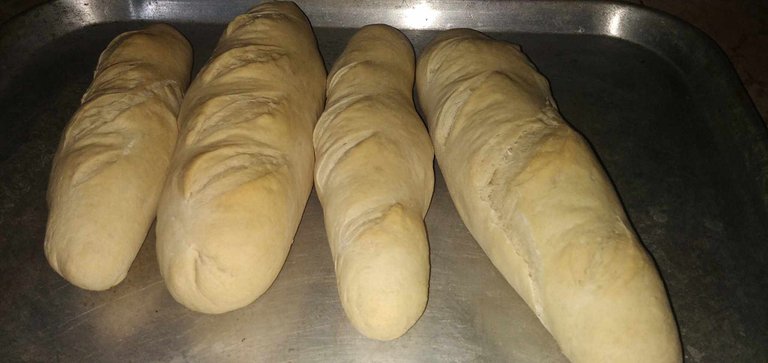
Una vez dada la forma, unta mantequilla en una bandeja y deja reposar los panes hasta que dupliquen su tamaño, en un tiempo estimado de 45 minutos a una hora, mete en el horno a una temperatura de 180 a 200 grados entre media hora a 45 minutos cuando mucho.
Once shaped, spread butter on a tray and let the loaves rest until they double in size, in an estimated time of 45 minutes to an hour, put in the oven at a temperature of 180 to 200 degrees between half an hour to 45 minutes at most.
Espero haya sido de interés y utilidad esta receta y se animen a realizar pan casero, desde casa, porque comer buen pan también es una forma de manifestar amor propio, si tienes duda en algún proceso de los antes mencionados no olvides preguntar, espero nos veamos en un próximo post.
I hope this recipe has been of interest and usefulness and encourage you to make homemade bread, from home, because eating good bread is also a way to show self-love, if you have any doubt in any of the processes mentioned above do not forget to ask, I hope to see you in a future post.

